Drill Bits Explained: Types, Materials, and What Each One Does
The bit matters as much as the drill. Here’s a plain-English taxonomy of every common drill bit type and material, with guidance on which one to reach for and when.
A fifteen-dollar set of the wrong bits will make a great drill feel terrible, while the right bit makes even a basic drill cut cleanly. Bits are where drilling performance actually lives — geometry, material, and sharpness matter more than the tool spinning them. Here’s every type you’re likely to meet, what each one does, and which to grab for the job in front of you.
On This Page
- Bit Anatomy in 30 Seconds
- Twist Bits: The Default
- Brad Point Bits: Clean Holes in Wood
- Spade Bits: Fast, Rough Holes in Wood
- Hole Saws: Big-Diameter Holes
- Masonry Bits: Concrete, Brick, and Stone
- Specialty Bits Worth Knowing
- Bit Materials: HSS, Cobalt, Carbide, and Coatings
- Choosing: The “Reach for This When…” Guide
- Keeping Bits Sharp and Alive
- Key Takeaways
- FAQs
Bit Anatomy in 30 Seconds
Every drill bit has the same basic parts: the shank (the end the chuck grips), the flutes (the spiral grooves that carry chips out of the hole), and the cutting point (the tip geometry that does the actual cutting). The point geometry is what makes a wood bit different from a metal bit — it’s the single most important thing to match to your material. If you only remember one sentence from this article: match the point to the material, and most drilling problems disappear.
Twist Bits: The Default
The classic spiral bit — the one in every basic set. Twist bits are the generalists: they drill metal, plastic, and wood acceptably, which is why they’re the default bit most people reach for first.
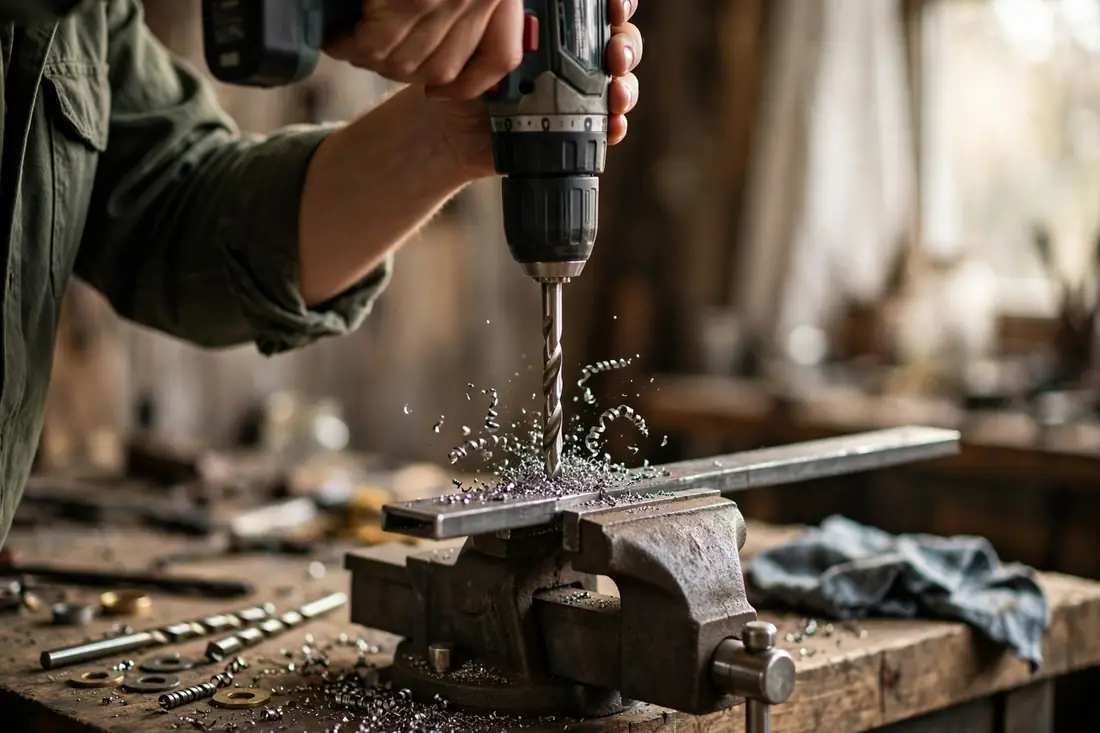
Reach for twist bits when: drilling metal (with cutting oil and moderate speed), drilling plastic, or drilling wood when you don’t have a brad point handy. They’re the “I just need a hole” bit.
Know their limits: in wood, standard twist bits can wander on entry and leave a rougher hole than a brad point. In metal, they need the right speed — too fast overheats and dulls them — and lubrication helps enormously. A dull twist bit is the cause of more smoking, squealing drill sessions than any other single thing in the workshop.
Brad Point Bits: Clean Holes in Wood
Brad points look like twist bits with a sharp spur in the center and two cutting spurs on the edges. That center point bites exactly where you place it — no wandering — and the outer spurs score the wood fibers before the main cut, leaving a clean-edged hole with minimal tear-out.
Reach for brad points when: drilling visible holes in wood — shelf-pin holes, dowel joints, hardware mounting — anywhere the hole’s appearance matters. They’re the furniture-maker’s default and the right choice for most woodworking.
Know their limits: they’re wood-only bits. The delicate spurs dull or break quickly in metal or masonry, and they’re wasted on rough construction where nobody sees the hole.
Spade Bits: Fast, Rough Holes in Wood
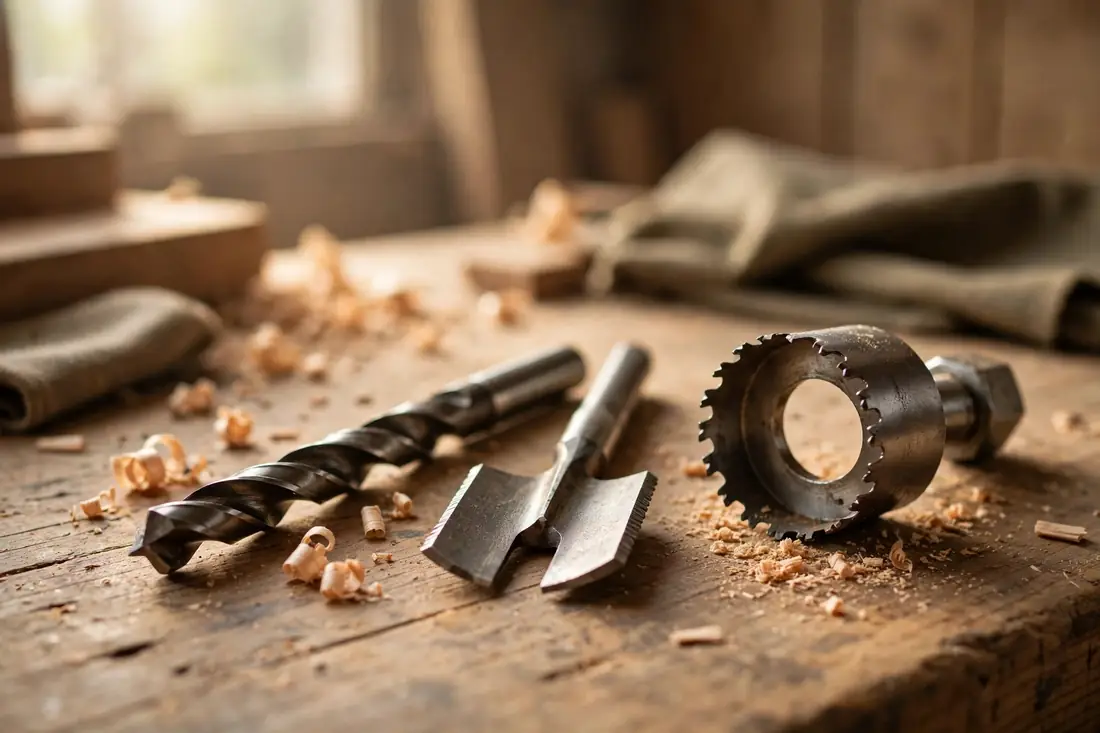
Flat paddle-shaped bits with a center point and two cutting wings. Spade bits (also called paddle bits) hog out holes from about 1/4 inch up to 1.5 inches in wood at impressive speed — they’re the bit for running wiring and plumbing holes through studs and joists.
Reach for spade bits when: you need a largish hole in wood fast and cleanliness doesn’t matter — running cable through framing, rough plumbing penetrations, gate hardware.
Know their limits: they leave rough, splintered holes, especially on breakthrough. They can also grab aggressively — keep a firm grip and moderate pressure, and back the speed down as you break through. For cleaner large holes in visible wood, step up to a Forstner bit (below) or a hole saw.
Hole Saws: Big-Diameter Holes
Hole saws are cup-shaped saws with teeth on the rim, mounted on an arbor with a pilot bit in the center. They cut holes from about 3/4 inch up to 6 inches and beyond — doorknob holes, recessed light cutouts, dryer vents, large plumbing penetrations.
Reach for hole saws when: the hole is too big for any twist or spade bit — typically anything over 1.5 inches in wood, or holes in doors and panels.
Know their limits: they generate a lot of friction and heat, so clear the plug and chips frequently and don’t force the cut. In metal, use bimetal hole saws at low speed with cutting oil. Deep holes may need you to drill from both sides to meet in the middle — and measure twice, because a hole-saw mistake is a big, visible one.
Masonry Bits: Concrete, Brick, and Stone
Masonry bits have a carbide-tipped head brazed onto a steel body — you can spot the wider, spade-like carbide tip at a glance. They’re designed to grind through concrete, brick, block, and stone rather than slice like a wood or metal bit.
Reach for masonry bits when: mounting anything to concrete or brick — anchors, brackets, ledger boards, outdoor fixtures.
Know their limits: masonry bits want a hammer drill (or a drill’s hammer mode) for anything beyond soft brick — without the hammering action, progress in concrete is painfully slow. Never use them in wood or metal; the carbide tip will skate and the hole will be a mess. And size the bit to your anchor, not your guess — anchor packaging specifies the exact drill diameter.
Specialty Bits Worth Knowing
- Forstner bits — drill flat-bottomed, clean-edged holes in wood: perfect for concealed hinges, dowels, and counterbores. Best used in a drill press, but workable in a hand drill with care. The clean-hole upgrade from spade bits.
- Countersink bits — cut a conical recess so screw heads sit flush with or below the surface. Essential for finished woodworking; many woodworkers use a combination drill-countersink bit that drills the pilot and countersink in one step.
- Step bits (unibits) — cone-shaped bits that drill multiple hole sizes in thin material: sheet metal, plastic, thin plywood. One bit replaces a whole set for electrical panels and sheet work.
- Auger bits — long, aggressive wood bits with a screw tip that pulls the bit through. The choice for deep holes in framing lumber and timber — faster and cleaner than spade bits for deep work.
- Glass and tile bits — spear-point carbide bits for ceramic tile, glass, and porcelain. Slow speed, light pressure, and water cooling; the wrong bit here means a cracked tile.
- Plug cutters — cut wooden plugs to hide screw heads in fine woodworking. A finishing touch, not a starter bit.
Bit Materials: HSS, Cobalt, Carbide, and Coatings
Beyond shape, the bit’s material determines what it can cut and how long it stays sharp:
- High-speed steel (HSS) — the standard. Good for wood, plastic, and mild steel. Affordable, resharpenable, and all most DIYers need for general work. Uncoated HSS is the baseline; everything else is an upgrade for specific demands.
- Cobalt (HSS-Co) — HSS alloyed with cobalt for higher heat resistance. The right choice for hard metals like stainless steel, where standard HSS dulls quickly. More expensive and more brittle — don’t use them where they’ll flex or take impacts.
- Carbide-tipped — a carbide cutting edge brazed onto a steel body. Standard for masonry bits and common in hole saws and Forstner bits. Extremely hard and wear-resistant, but brittle — no hammering on them in the wrong application.
- Coatings (titanium nitride, black oxide, etc.) — surface treatments that reduce friction and add some surface hardness. They help, particularly in metal, but the coating wears off the cutting edge with use and especially with resharpening — treat coatings as a bonus, not the main event. The underlying steel matters more.
Practical buying advice: a quality HSS set covers general DIY. Add cobalt bits if you drill stainless or hardened steel; add carbide-tipped masonry bits when concrete work appears. Buying the exotic stuff “just in case” is how bit collections grow dusty.
Choosing: The “Reach for This When…” Guide
| Job | Reach for |
|---|---|
| Pilot holes, general holes in wood | Brad point (clean) or twist bit (rough) |
| Holes in metal | HSS twist bit, slow speed, cutting oil |
| Holes in stainless / hardened steel | Cobalt twist bit |
| Large rough holes in framing lumber | Spade bit or auger bit |
| Clean large holes in finished wood | Forstner bit or hole saw |
| Doorknob / can-light / vent holes | Hole saw with pilot arbor |
| Concrete, brick, block | Carbide-tipped masonry bit (+ hammer mode) |
| Tile or glass | Spear-point carbide glass/tile bit, slow + water |
| Flush screw heads in wood | Countersink bit after the pilot hole |
| Multiple sizes in sheet metal | Step bit |
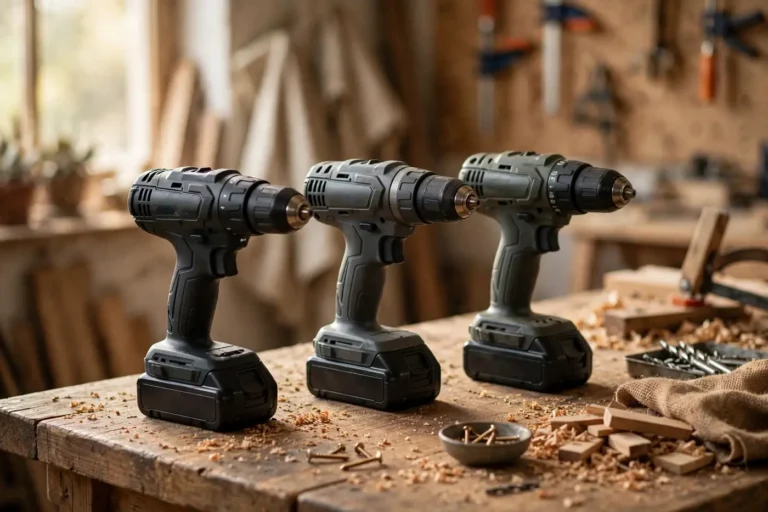
If you’re still choosing a drill to spin all these bits, remember the chuck matters: a 1/2-inch chuck accepts the full range above, while smaller chucks limit your large-bit options.
Keeping Bits Sharp and Alive
Bits are consumables, but a little care stretches them enormously:
- Use the right speed. The universal rule: harder material and larger diameter mean slower speed. High speed in metal cooks the bit’s temper; the bit turns blue, and blue means dull forever.
- Let the bit cut. Heavy pressure doesn’t speed things up — it overheats the bit and work-hardens metal. Steady, moderate pressure withdrawing periodically to clear chips.
- Lubricate in metal. A drop of cutting oil (or even household oil in a pinch) dramatically extends bit life in steel.
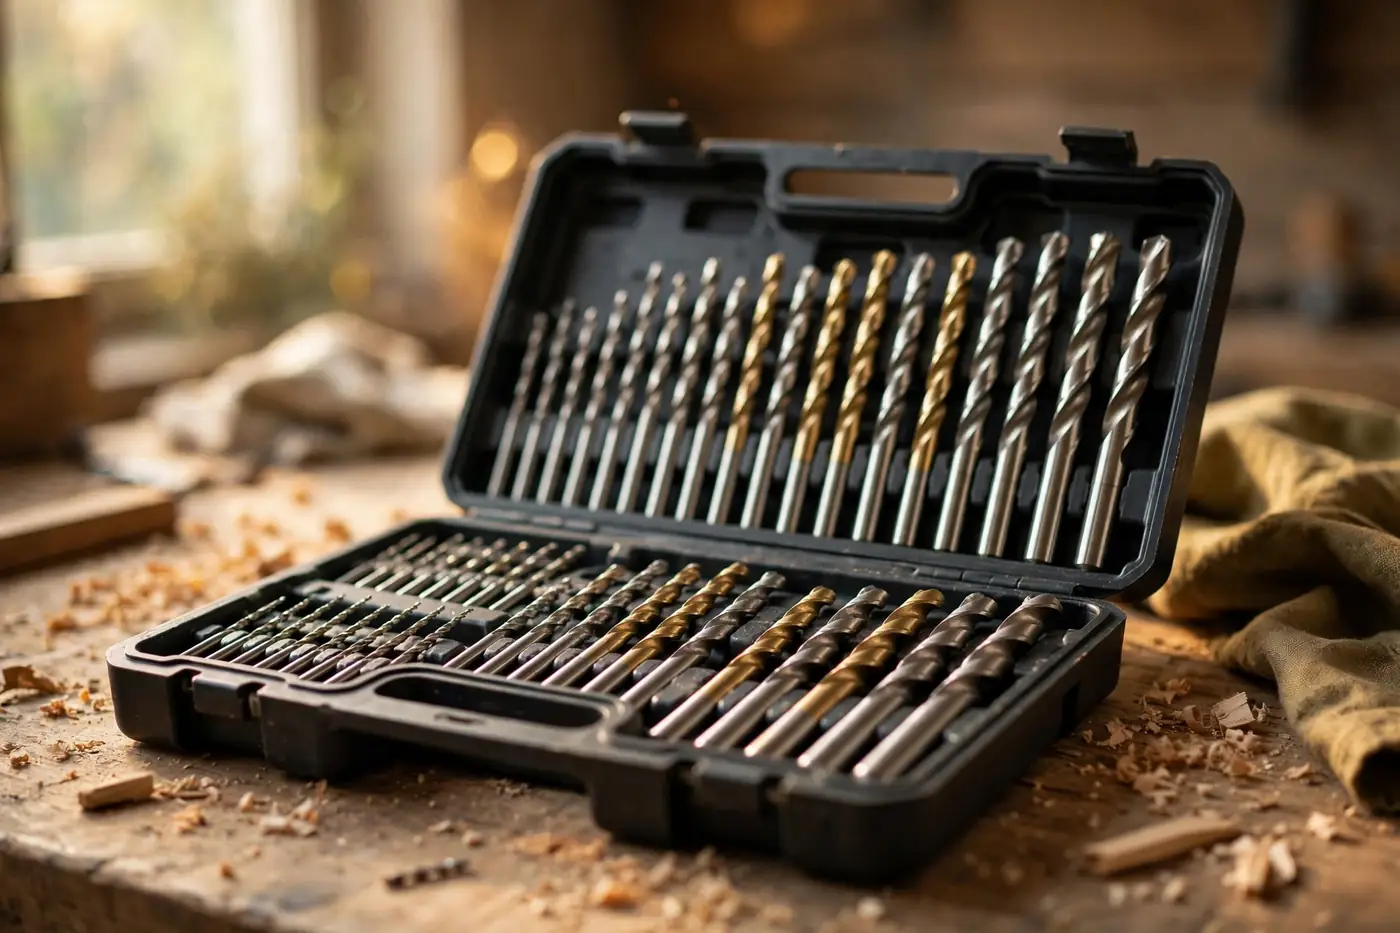
- Store them so edges don’t touch. Bits rattling loose in a drawer bang their cutting edges dull. An indexed case exists for a reason.
- Learn to spot a dead bit. Smoking, squealing, requiring heavy pressure, or producing dust instead of chips (in wood) all mean the bit is done — resharpen or replace. Forcing a dull bit is how workpieces get ruined and wrists get hurt.
Key Takeaways
- Match the bit’s point geometry to the material — this single habit prevents most drilling problems.
- Twist bits are the generalists; brad points are for clean wood holes; spade bits for fast rough holes; hole saws for big diameters; masonry bits (carbide) for concrete and brick.
- HSS covers general DIY; step up to cobalt for hard metals and carbide-tipped for masonry.
- Coatings are a bonus, not a substitute for good steel and correct technique.
- Right speed, moderate pressure, and lubrication in metal will make any bit last dramatically longer.
FAQs
Can I use wood bits on metal?
Brad points and spade bits will technically cut thin, soft metal, but they dull fast and the results are poor. Use proper HSS twist bits for metal — they’re inexpensive and the right geometry matters.
Why do my bits keep getting dull so fast?
The usual culprits: too much speed in metal (overheating destroys the temper), drilling masonry with non-masonry bits, or simply a cheap set with soft steel. Slow down, add oil in metal, and match the bit to the material.
Are expensive drill bit sets worth it?
Up to a point. A mid-range set from a reputable brand with proper HSS steel is the sweet spot for DIY — it stays sharp far longer than bargain sets. Beyond that, you’re paying for specialty materials (cobalt, carbide) you may never need.
Can I sharpen drill bits myself?
Twist bits, yes — with a bench grinder or a dedicated sharpening jig, and some practice. Brad points, Forstners, and spade bits are harder to sharpen well by hand; most people replace them. Given how cheap individual bits are, replacement is often the pragmatic choice.
What’s the difference between a drill bit and a driver bit?
Drill bits cut holes; driver bits (Phillips, Torx, square) drive screws. They look different, do different jobs, and aren’t interchangeable — though both live in the same kit. The drill vs impact driver guide covers which tool drives which fasteners, and our drill picks roundup can help if you’re equipping a new drill to go with your bit set.
Your Next Step
Open your bit case and sort it: which bits are actually sharp, and which are smoking relics that should be retired? Replace the dead ones you use most — usually the common twist and brad point sizes — and add the one specialty bit your next project needs. A small, sharp, correct set beats a big dull one every time.