Circular Saw Blades Explained: Types, Teeth, and When to Swap
The blade does the cutting, not the saw. This guide explains tooth counts, blade types, and the signs that tell you it’s time to retire a blade.
Start here
A circular saw blade is the part that actually touches the wood, so it has more influence on cut quality than the saw’s motor or price tag. Tooth count controls the trade-off between speed and smoothness, blade types match materials, and knowing when a blade is done saves you burnt cuts and frustration. This guide covers all three.
On this page
- Blade anatomy: the parts that matter
- Tooth-count logic: speed vs. smoothness
- Material-specific blades
- When to swap (and when to retire)
- Key takeaways
- FAQ
- Your next step
Blade anatomy: the parts that matter
You don’t need to be a metallurgist to pick a blade, but knowing the vocabulary keeps you from buying the wrong thing. Here are the parts worth understanding.
The plate, the teeth, and the gullets
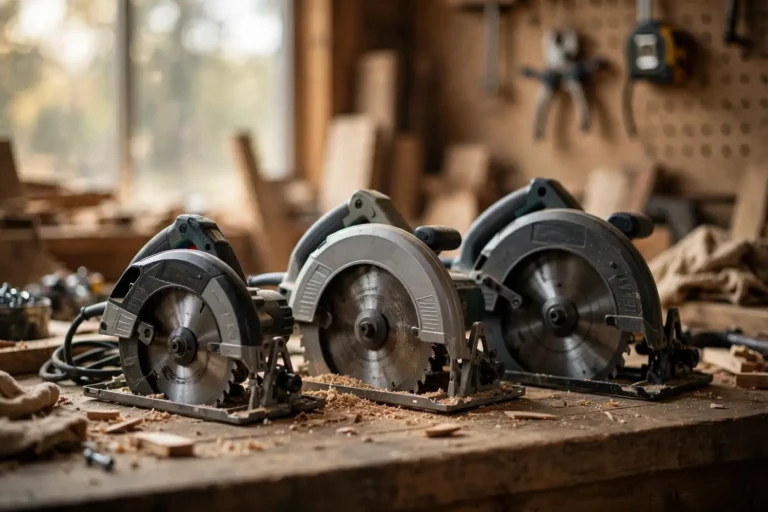
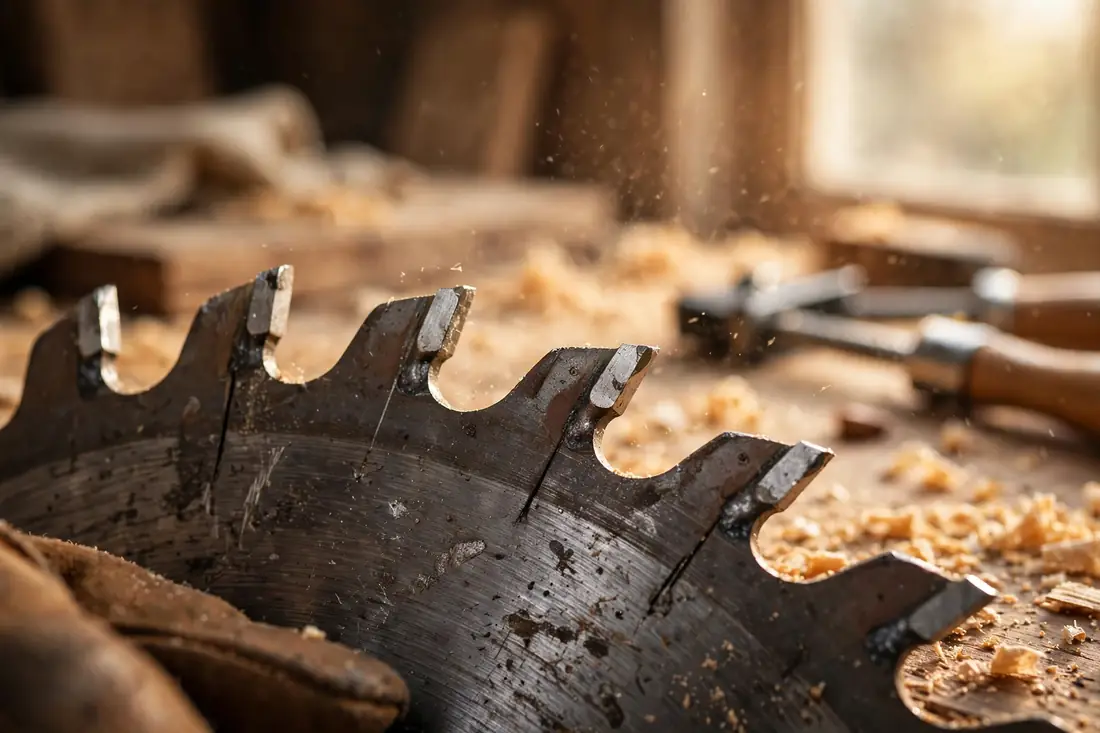
The plate is the steel disc itself. On most modern blades, the cutting is done by carbide teeth — small, hard tips brazed onto the plate’s edge. Carbide stays sharp far longer than plain steel, which is why virtually all general-purpose blades use it now. Between the teeth are the gullets, the curved scoops that carry sawdust out of the cut. Deep gullets clear chips fast (good for ripping); shallow gullets leave a cleaner edge (good for crosscutting).
Arbor, kerf, and diameter
The arbor is the hole in the middle — it must match your saw’s arbor size (7-1/4 inch saws commonly use a 5/8 inch arbor). The kerf is the width of the cut the blade makes: full-kerf blades remove more material but cut stably, while thin-kerf blades remove less material, waste less wood, and ask less of the motor. For most DIY circular saws, thin-kerf blades are the sensible default since they strain the motor less.
Blade diameter has to match the saw — 7-1/4 inch blades for full-size saws, smaller diameters for compact saws. Never mount an oversized blade on a saw; the guard won’t cover it and the geometry is wrong. If you’re still choosing the saw itself, start with choosing a circular saw first, then come back for the blade.
Tooth geometry: a quick tour
Teeth are shaped differently for different jobs. Flat-top (FT) teeth act like tiny chisels and plow through material fast — common on ripping blades. Alternate top bevel (ATB) teeth are angled left and right alternately, shearing the wood fibers for a cleaner cut — the standard on crosscut blades. Triple-chip grind (TCG) teeth alternate a chamfered tooth with a flat raker, which handles hard and abrasive materials like laminate and metal without chipping them.
You don’t need to memorize these grinds, but recognizing the terms on packaging helps you understand what a blade was designed for — and keeps a “metal-cutting” blade from ending up in your framing lumber pile by mistake.
Tooth-count logic: speed vs. smoothness
Tooth count is the single most useful number on the package. On a standard 7-1/4 inch blade, the logic is simple: fewer teeth cut faster and rougher; more teeth cut slower and smoother. Here’s how the common counts break down.
Low tooth counts (around 24 teeth): ripping and framing
A 24-tooth blade is the workhorse of construction. The deep gullets between teeth clear sawdust aggressively, so the blade plows through 2x lumber and framing stock without bogging down. The cut edge will be rough — splinters and tearout are normal — but for framing, decking structure, and anything that gets hidden, that’s fine. If you do one thing, rip with a low-tooth-count blade.
Medium tooth counts (around 40 teeth): the generalist
A 40-tooth blade is the best all-rounder for a DIYer who wants one blade for most jobs. It rips acceptably, crosscuts reasonably cleanly, and handles sheet goods without the chipping a 24-tooth blade would cause. Many saws ship with a 24-tooth blade, so upgrading to a 40-tooth general-purpose blade is the single cheapest improvement most people can make to their cut quality.
High tooth counts (60–80+ teeth): plywood, trim, and finish work
High-tooth-count blades take smaller bites per tooth, which leaves a smoother edge with minimal tearout — exactly what plywood, veneer, laminate, and trim demand. The trade-off is speed: these blades cut slowly in thick lumber and can overheat if forced, because the shallow gullets don’t clear chips as fast. Reserve them for sheet goods and finish cuts, and let the blade do the work without pushing.
The pattern to remember
- Cutting with the grain (ripping): fewer teeth, deep gullets, speed over smoothness.
- Cutting across the grain (crosscutting): more teeth, cleaner shear, smoothness matters.
- One blade for everything: a 40-tooth general-purpose blade is the sane middle ground.
Material-specific blades
Wood is forgiving. Other materials are not, and they each have a blade designed for them.
Laminate and melamine
The plastic face on laminate chips if you look at it wrong. Blades for laminate typically use a triple-chip grind and a high tooth count to score the surface cleanly before cutting through. For best results, cut with the finished face down on a table saw; with a circular saw, place the finished face down too — tear-out happens on the top face, where the teeth exit the wood — and use painter’s tape along the cut line to hold the fragile surface together.
Metal-cutting blades
Cutting metal with a circular saw requires a blade rated for metal — typically a TCG grind with a high tooth count — an appropriate (usually lower) speed setting, a securely clamped workpiece, and eye protection. Never use a wood blade on metal — standard wood blades dull almost instantly on metal and can be dangerous, since the teeth aren’t designed for the load. Follow the saw and blade manufacturer’s guidance. These blades work for thin steel, aluminum, and non-ferrous metals; they won’t turn your circular saw into a chop saw, but they handle occasional metal cuts safely when used as directed.
Masonry and fiber cement
Concrete, brick, and fiber cement eat carbide teeth. For these materials, blades use a diamond or abrasive edge rather than teeth. They’re dusty, slow, and hard on the saw — genuinely occasional-use blades for a DIYer. Fiber cement siding in particular is notorious for destroying wood blades, so if you’re siding a house, get the right blade before you start, not after you’ve ruined the first one.
Plywood and veneered panels
Specialty plywood blades use many fine teeth with an ATB grind to minimize tearout on the fragile veneer faces. A good 60-tooth blade gets you most of the way there for occasional work, but if you’re building cabinets or anything with visible plywood edges, a dedicated plywood blade is worth the modest cost.
When to swap (and when to retire)
Blades are consumables, not heirlooms. Using a dull blade is how you get burnt edges, wandering cuts, straining motors, and — because you push harder to compensate — a less safe cut. Here’s how to read the signs.
Signs your blade is dull
- You’re pushing harder than you used to. A sharp blade pulls itself through the cut; a dull one needs to be forced.
- The cut smells like burning or the edge is scorched. Dull teeth generate heat instead of slicing fibers.
- Tearout and splintering are getting worse on the same material that used to cut cleanly.
- The motor strains or the saw slows down in material it used to handle easily.
- Visible damage: missing or chipped carbide teeth, a warped plate, or cracks around the arbor. These mean the blade is done — not dull, done.
Swap blades for the job, not just when dull
Swapping is also a strategy, not just maintenance. Switching from a 24-tooth framing blade to a 60-tooth blade before cutting plywood takes a minute and transforms the result. Keeping two or three blades — a ripper, a generalist, and a fine-cut blade — covers nearly all DIY work. Store them flat or hanging, never tossed loose in a drawer where teeth bang against each other.
Sharpen or replace?
Carbide blades can be professionally sharpened, and for expensive blades (large-diameter, specialty grinds) it’s worth it. For standard 7-1/4 inch DIY blades, replacement is usually the practical call — sharpening services cost enough that the math favors a new blade for common sizes. Either way, never run a blade with damaged or missing teeth; a broken tooth unbalances the blade and turns a precision tool into a hazard.
Key takeaways
- Tooth count is the key number: fewer teeth = faster and rougher; more teeth = slower and cleaner.
- A 40-tooth general-purpose blade is the best single blade for a DIYer; add a 24-tooth ripper and a 60-tooth finish blade as jobs demand.
- Match the blade to the material — metal, masonry, and laminate each need purpose-built blades, not a wood blade forced into service.
- Swap blades for the job and retire them at the first sign of damage; dull blades cause burnt cuts and make the saw work harder than it should.
FAQ
Can I use a 7-1/4 inch blade on a 6-1/2 inch saw?
No. Use only the blade diameter your saw is designed for. An oversized blade won’t be covered by the guard, changes the cutting geometry, and can overload the motor.
What’s the difference between thin-kerf and full-kerf blades?
Thin-kerf blades cut a narrower slot, removing less material and demanding less from the motor — the better default for most DIY saws. Full-kerf blades cut a wider slot and run more stably, which matters more on larger saws doing heavy ripping.
How do I change a circular saw blade?
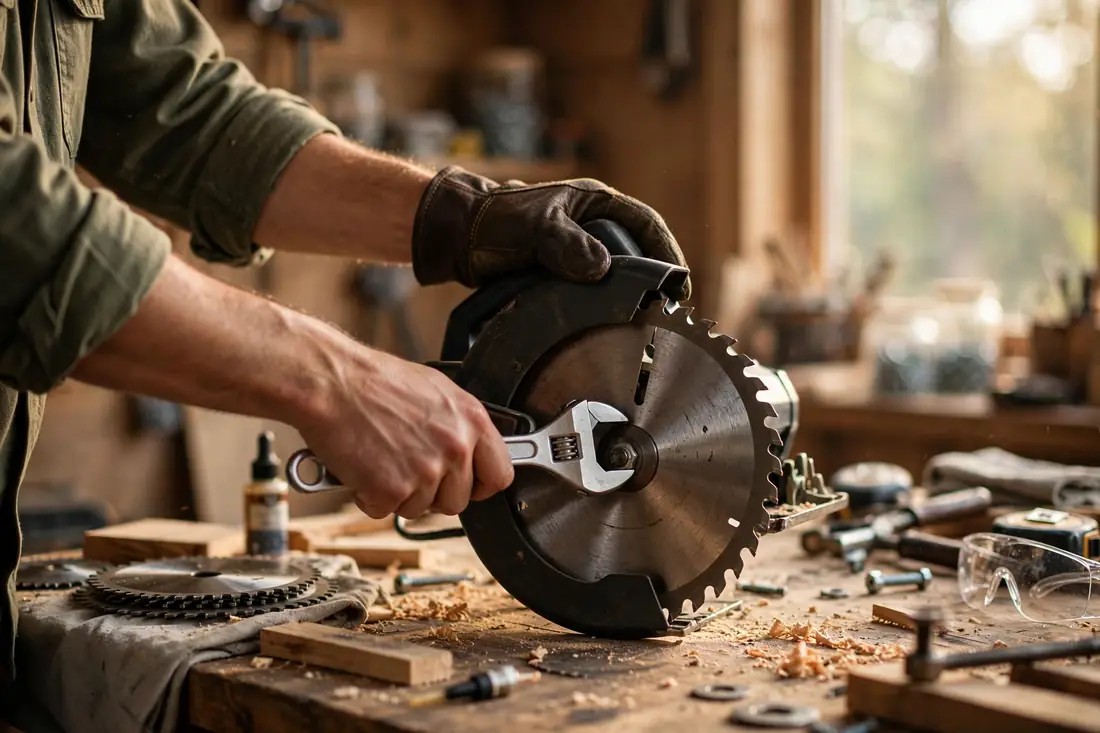
Unplug the saw (or remove the battery), engage the arbor lock, loosen the arbor bolt — noting that it usually loosens in the direction of blade rotation — swap the blade with teeth pointing the right way, and retighten. Check your saw’s manual for the exact procedure; it takes about two minutes once you’ve done it.
Why is my plywood chipping no matter what I do?
You’re probably using too few teeth, cutting too fast, or cutting with the wrong face up. Switch to a 60-tooth or plywood-specific blade, slow your feed rate, tape the cut line, and place the good face down — with a circular saw, tear-out happens on the top face where the teeth exit the wood.
Do I need a special blade for pressure-treated lumber?
Not specially — a standard carbide wood blade handles pressure-treated lumber fine. But the treatment chemicals are corrosive and abrasive, so wipe the blade clean after use and expect it to dull a bit faster than in untreated wood.
Your next step
If you only own the blade your saw shipped with, a 40-tooth general-purpose blade is the upgrade that changes your results the most. Pair it with one of the saw picks if you’re still saw-shopping, and review workshop safety before your next project — blade changes are the moment most people get careless.