10 Essential Power Tools for Your First Workshop
You don’t need a wall of tools to start building — you need the right ten. Each one earns its spot here with jobs you’ll actually do in your first year.
Start here
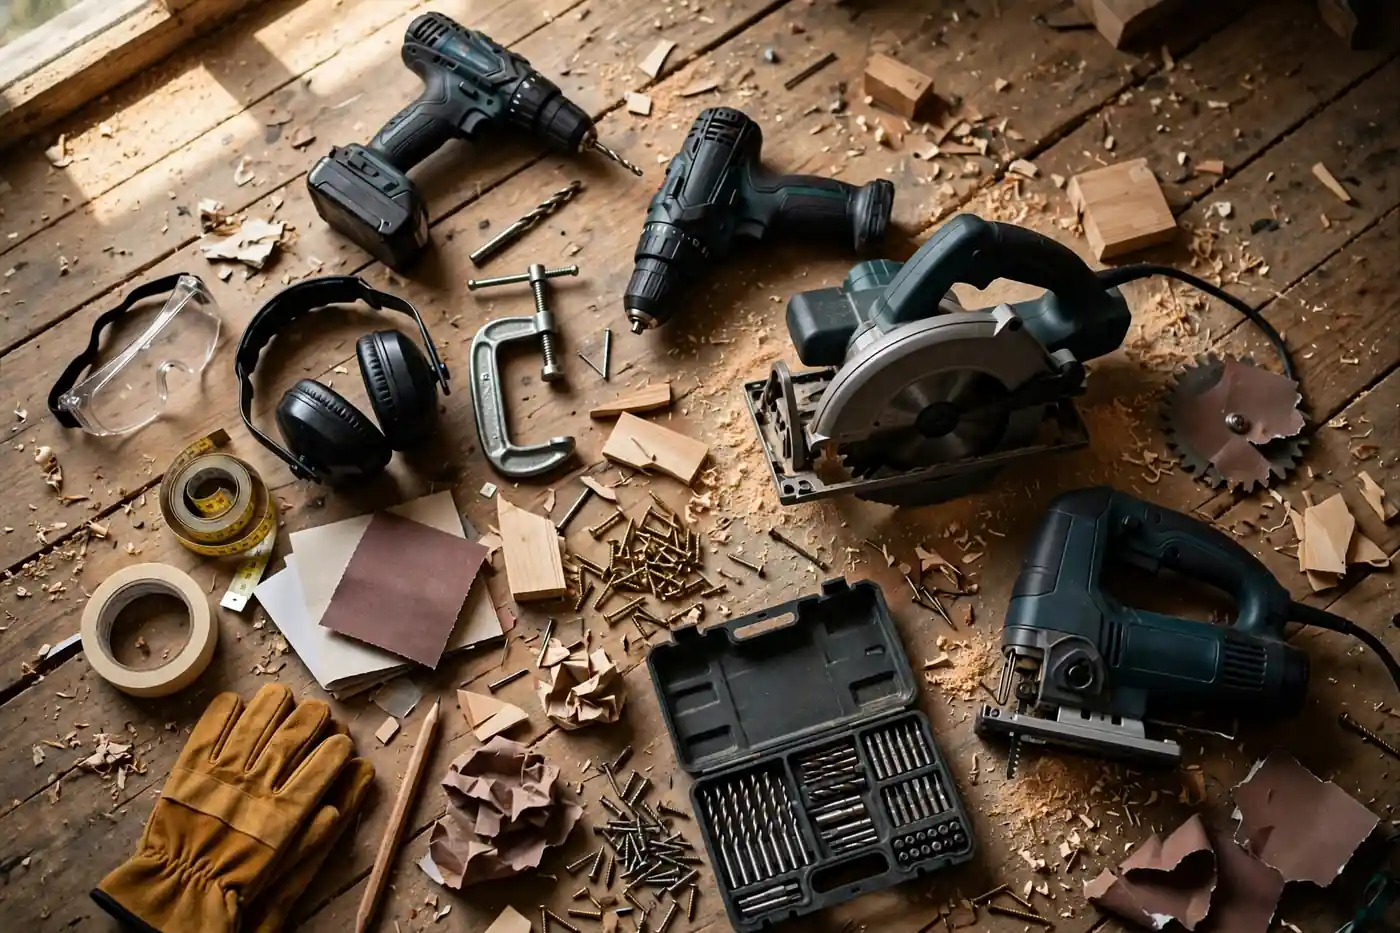
Your first workshop doesn’t need to be full — it needs to be functional. These ten power tools cover the four jobs every beginner project demands: drilling, cutting, smoothing, and cleaning up. Each one below explains why it earned its spot and when you’ll actually reach for it, plus a short list of tools to skip until your projects say otherwise.
On this page
- 1. Cordless drill/driver
- 2. Impact driver
- 3. Circular saw
- 4. Random orbital sander
- 5. Jigsaw
- 6. Reciprocating saw
- 7. Brad nailer
- 8. Shop vacuum
- 9. Rotary tool
- 10. Work light
- What to skip for now
- Key takeaways
- Your next step
1. Cordless drill/driver — the tool you’ll use first and most
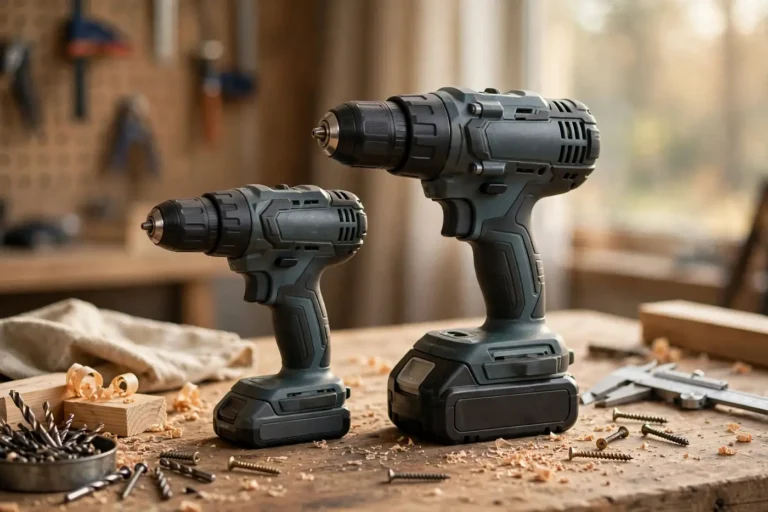
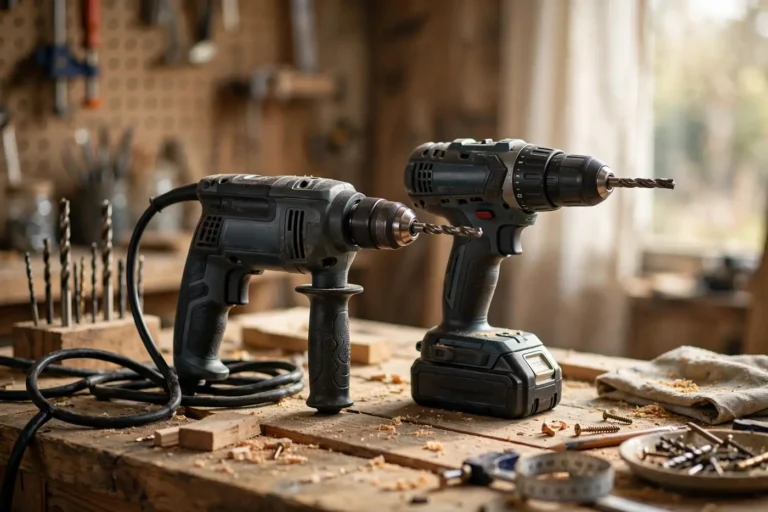
If you buy exactly one power tool, make it this one. A cordless drill/driver drills holes and drives screws, which means it’s involved in nearly every project a beginner takes on: assembling furniture, hanging shelves, building a raised bed, mounting anything to anything.

When you’ll reach for it: pilot holes before driving screws, assembling flat-pack furniture faster, hanging curtain rods, building simple frames, drilling into studs to hang heavy items. You’ll use it within a day of bringing it home — probably within the hour.
Pick one on the battery platform you intend to grow with, since that battery will power most of the tools below. If you want the full decision walkthrough, the drill buying guide covers voltage, chuck size, and what the specs actually mean.
2. Impact driver — the screw-driving specialist
Once you’ve driven a hundred screws with a drill, you’ll understand the impact driver. It delivers rotational impacts that drive long screws and lag bolts without stripping heads or stalling, and it’s shorter and lighter than a drill, so it fits between studs and inside cabinets.
When you’ll reach for it: deck screws, long structural screws, lag bolts, assembling anything with dozens of fasteners. The drill starts holes; the impact driver finishes the driving. Most beginners buy it as their second tool, usually as a combo kit with the drill — and combo kits on one battery platform are typically the best value in the store.
3. Circular saw — your first real cutting tool
A circular saw cuts straight lines through lumber and sheet goods, which is the fundamental cutting operation of DIY. With a straightedge clamped as a guide, it rips plywood nearly as cleanly as a table saw — and unlike a table saw, it stores on a shelf and costs a fraction as much.

When you’ll reach for it: breaking down plywood sheets, cutting 2x lumber to length, trimming doors, building shelves and workbenches, cutting deck boards. It pairs with a speed square for quick crosscuts and a clamped straightedge for long rips. Respect it from day one — read the safety basics before your first cut, because this is the tool beginners underestimate most.
4. Random orbital sander — the difference between homemade and handmade
Sanding is what separates projects that look built from projects that look bought. A random orbital sander smooths surfaces fast without the swirl marks a cheap pad sander leaves, and with dust collection hooked up, it’s far less miserable than sanding by hand.
When you’ll reach for it: smoothing a workbench top, prepping furniture for paint or stain, knocking down rough lumber edges, refinishing a tabletop. Start with a few grits — 80 for shaping, 120 for smoothing, 220 for finishing — and let the sander’s weight do the work. For specific model guidance, see the sander picks.
5. Jigsaw — curves, cutouts, and everything the circular saw can’t reach
The circular saw handles straight cuts; the jigsaw handles everything else. It cuts curves, circles, cutouts for sinks and outlets, and notches — the fiddly shapes that make a project look intentional instead of improvised.
When you’ll reach for it: cutting a sink cutout in a countertop, shaping a curved shelf bracket, trimming a door for a pet flap, cutting holes in plywood for vents. It’s slower than a circular saw and the cut edge is rougher, so use it for shapes, not for jobs the circular saw could do. Blades are cheap and swap in seconds, which makes it a forgiving tool to learn on.
6. Reciprocating saw — demolition and rescue work
Every homeowner eventually faces a job where something needs to come apart: a rotted fence section, old plumbing, a branch too thick for loppers. A reciprocating saw is forgiving for rough demolition-style cuts, but it still demands respect: secure the workpiece, keep the shoe against the material, and wear eye protection.
When you’ll reach for it: tearing out old decking, cutting through nailed-together lumber during demolition, pruning storm-damaged branches, cutting out a section of pipe. It’s not a precision tool and shouldn’t be asked to make pretty cuts, but when the job is destruction, nothing else is as satisfying. A cordless model on your battery platform is the convenient choice for yard and demo work.
7. Brad nailer — trim and assembly without the hammer marks
A brad nailer fires thin nails that hold trim, molding, and light assembly together with holes so small they nearly disappear. It’s the tool that makes trim work look professional instead of pockmarked with hammer dents.
When you’ll reach for it: installing baseboards and casing, assembling small boxes and picture frames, tacking together glue-ups while the glue dries, attaching thin paneling. Cordless brad nailers have made this tool far more accessible — no compressor, no hose, just a battery. If your first projects involve any trim at all, this tool pays for itself in saved frustration.
8. Shop vacuum — the unglamorous multiplier
Nobody daydreams about a shop vacuum, but it’s the tool that makes all the others more pleasant to use. It collects sawdust at the source, cleans up demolition debris, and keeps the workspace safe to walk through. Sawdust on a concrete floor is a slipping hazard; a vacuum solves it in minutes.
When you’ll reach for it: after every cutting and sanding session, cleaning the garage before starting a project, picking up drywall dust, drying out a wet spot in the basement. Hook it to your sander and circular saw with a dust hose and you’ll cut airborne dust dramatically. Get one bigger than you think you need — the small ones fill up fast.
9. Rotary tool — the detail problem-solver
A rotary tool is a small, high-speed spinning tool with a huge accessory ecosystem: cutting wheels, grinding bits, sanding drums, polishing wheels. It does the small, fiddly jobs nothing else can reach — sharpening, engraving, cutting a bolt flush, cleaning up a rough edge in a tight spot.
When you’ll reach for it: cutting a rusted bolt, sharpening a mower blade, etching a label, polishing small metal parts, sanding inside a curve. It won’t replace any tool above it, but it fills gaps between them. Buy the accessory kit, not just the tool — the accessories are the point.
10. Work light — because you can’t build what you can’t see
Garages and workshops have terrible lighting, and cutting or drilling in shadows is how mistakes happen. A bright cordless work light on your battery platform — a tripod floodlight or a folding area light — turns an evening project from guesswork into actual work.
When you’ll reach for it: every project you work on after sunset, lighting the inside of cabinets, working under a sink, detailing a finish. It also doubles as emergency lighting during power outages, which in Texas storm season is not a hypothetical. This is the cheapest tool on the list and one of the most-used.
What to skip for now
A beginner’s budget is finite, and some tools are better bought when a specific project demands them — not before. Here’s what’s safe to postpone:
- Table saw. Powerful and precise, but expensive, space-hungry, and the most dangerous common DIY tool. A circular saw with a straightedge covers beginner cutting needs.
- Miter saw. Wonderful for trim and accurate crosscuts, but a circular saw plus a speed square gets you through the first year. Buy it when trim work becomes a regular thing.
- Router. Incredibly versatile, genuinely tricky to learn, and easy to ruin a workpiece with. Wait until you have a project with edges or joinery that actually needs one.
- Angle grinder. Essential for metalwork, but aggressive and unforgiving for a first-year shop. Add it when you start working with metal or masonry, not before.
- Planer and jointer. Milling rough lumber is an advanced hobby, not a beginner need. Buy dimensioned lumber from the store and skip these entirely for now.
- Specialty nailers. Framing nailers, flooring nailers, pin nailers — each is excellent at one job. The brad nailer covers beginner needs; add the others per project.
The pattern: buy tools for projects you have, not projects you imagine. Every tool on the skip list is worth owning eventually — just not before the work justifies it.
Key takeaways
- Ten tools cover a beginner’s real workload: drill, impact driver, circular saw, sander, jigsaw, recip saw, brad nailer, shop vacuum, rotary tool, and a work light.
- Commit to one battery platform early — most of these tools share batteries, and that’s where the real savings live.
- Buy tools for projects you actually have. The table saw, miter saw, and router can all wait until the work demands them.
- Read the safety basics before the first cut — the circular saw especially rewards respect and punishes complacency.
Your next step
Start with the drill and build outward in the order above — each tool opens up the next set of projects. And before anything spins or cuts, spend twenty minutes on the safety basics: the best workshop is the one where you finish every project with all ten fingers.