Cordless Drill Buying Guide: How to Choose the Right Drill
A cordless drill is the first power tool most DIYers buy and the one they’ll use most. This guide demystifies the specs so you can pick the right drill for your projects with confidence.
A cordless drill is usually the first power tool a DIYer buys — and the most-used. Shelves, curtain rods, furniture assembly, deck boards: it all runs through this one tool. This guide skips the marketing noise and explains what each spec means in real projects, so you can pick a drill that fits your work and budget.
On This Page
- Start With What You’ll Use It For
- Key Specs, Demystified
- How to Choose: A Simple Decision Path
- Common Mistakes to Avoid
- Key Takeaways
- Frequently Asked Questions
Start With What You’ll Use It For
Before looking at a single spec sheet, think about the work. Most first-time drill buyers fall into one of these groups:
- Light household work. Hanging pictures and curtain rods, assembling flat-pack furniture, mounting a TV bracket, swapping cabinet hardware. You need control and comfort more than raw power.
- General DIY. Building shelves and raised garden beds, drilling into wall studs, putting up a fence, light framing. This is where most homeowners land — you want a drill that handles weekend projects without feeling like a toy.
- Heavy project work. Deck builds, drilling large holes with hole saws, mixing paint or thinset, driving long structural screws. Here you genuinely need torque and battery stamina.
Be honest about which group you’re in. The most common regret isn’t buying too little drill — it’s buying a heavy, overpowered model for picture-hanging duty and dreading every time you pick it up. A drill that feels good in your hand gets used; one that doesn’t collects dust.
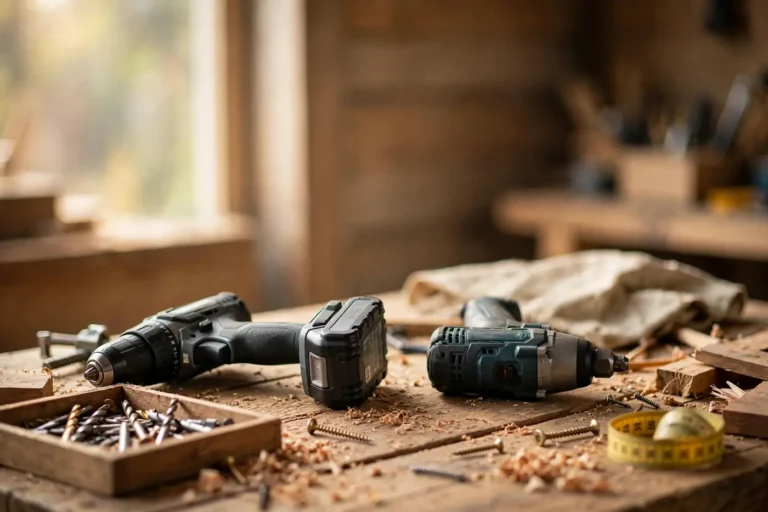
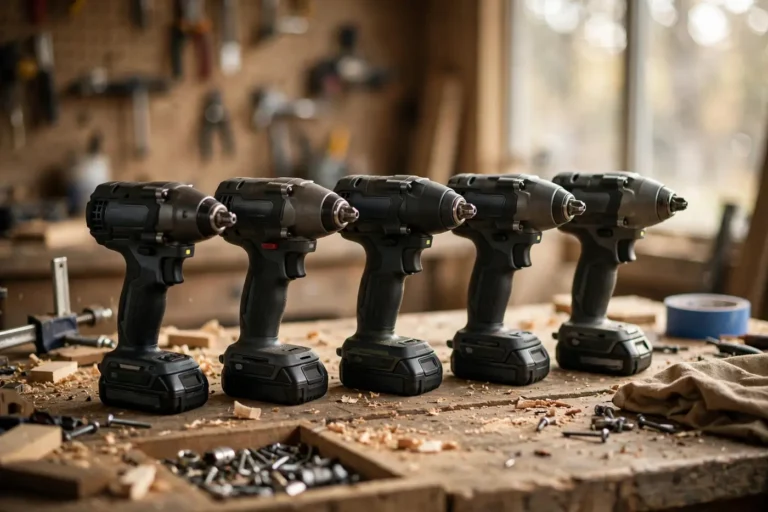
One more thing to settle early: if most of your “drilling” is actually driving long screws and lag bolts, look into whether you need an impact driver instead. Many DIYers end up owning both, but if screws are 90% of your work, the impact driver may be the better first buy.
Key Specs, Demystified
Drill packaging is covered in numbers. Here’s what each one means in practice — and which ones deserve your attention.
Voltage: 12V vs. 18V/20V
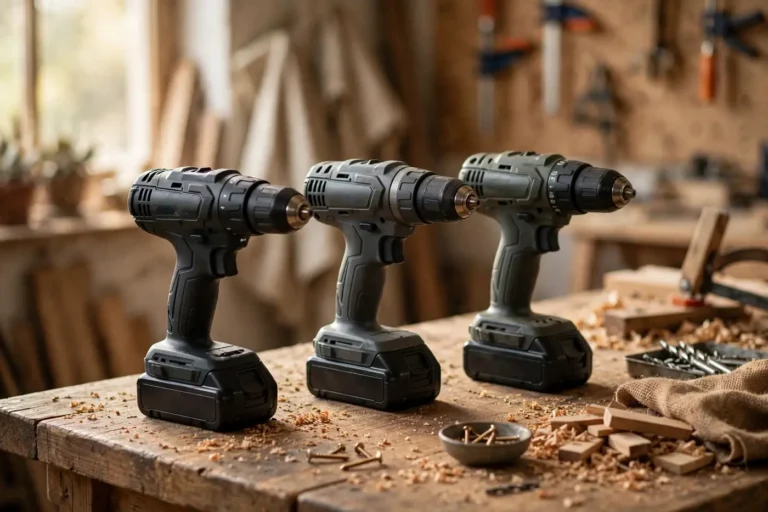
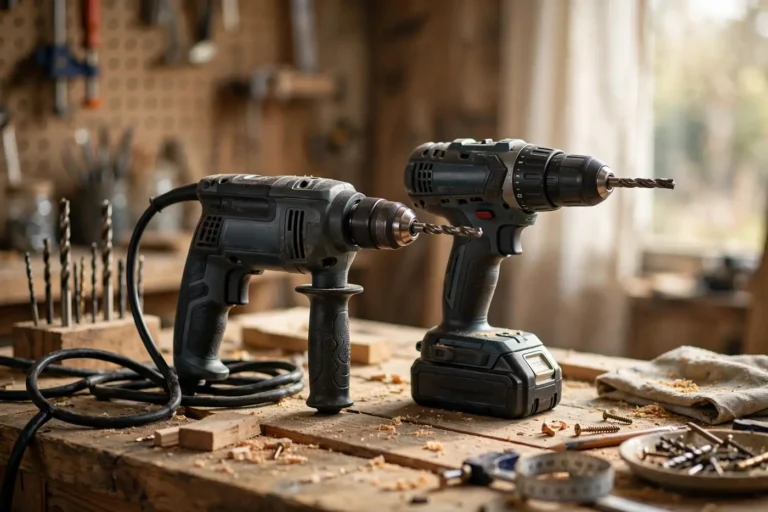
Voltage is the headline number, and it roughly maps to the drill’s power class. 12V drills (sometimes labeled 10.8V) are compact and light — easy to carry up a ladder, easy on the wrist, and plenty strong for household tasks and light DIY. 18V drills (often marketed as 20V Max in North America, which is the same nominal voltage measured differently) are the full-size workhorses: more torque, longer runtimes with big batteries, and a huge ecosystem of compatible tools.
For most homeowners, an 18V-class drill is the safer long-term bet because it anchors you to the biggest battery platform. But if you know your work is light and you value comfort, a 12V drill you love beats an 18V drill you avoid. There is no shame in the smaller class.
Chuck: Size and Type
The chuck is the three-jaw clamp at the front that holds the bit. Nearly all modern cordless drills use a keyless chuck you tighten by hand — avoid old-style keyed chucks on cordless models. Size matters: a 1/2-inch chuck accepts larger shanks (hole saws, big spade bits) and is the standard on full-size 18V drills. A 3/8-inch chuck is common on compact 12V models and fine for general bit work.
Look for a metal chuck sleeve rather than plastic on drills you’ll use hard; it grips better and survives drops. Ratcheting chucks, which click as they tighten, hold bits more securely under load — worth having if you drill masonry or drive big fasteners.
Torque and the Clutch
Torque — the twisting force, listed in inch-pounds (in-lbs) or Newton-meters — is the spec people obsess over most. Higher torque means the drill can push bigger bits through tougher material. But here’s the nuance: for household and general DIY work, most 18V drills have more torque than you’ll use. Torque matters most for large-diameter drilling (hole saws, auger bits) and long fasteners.
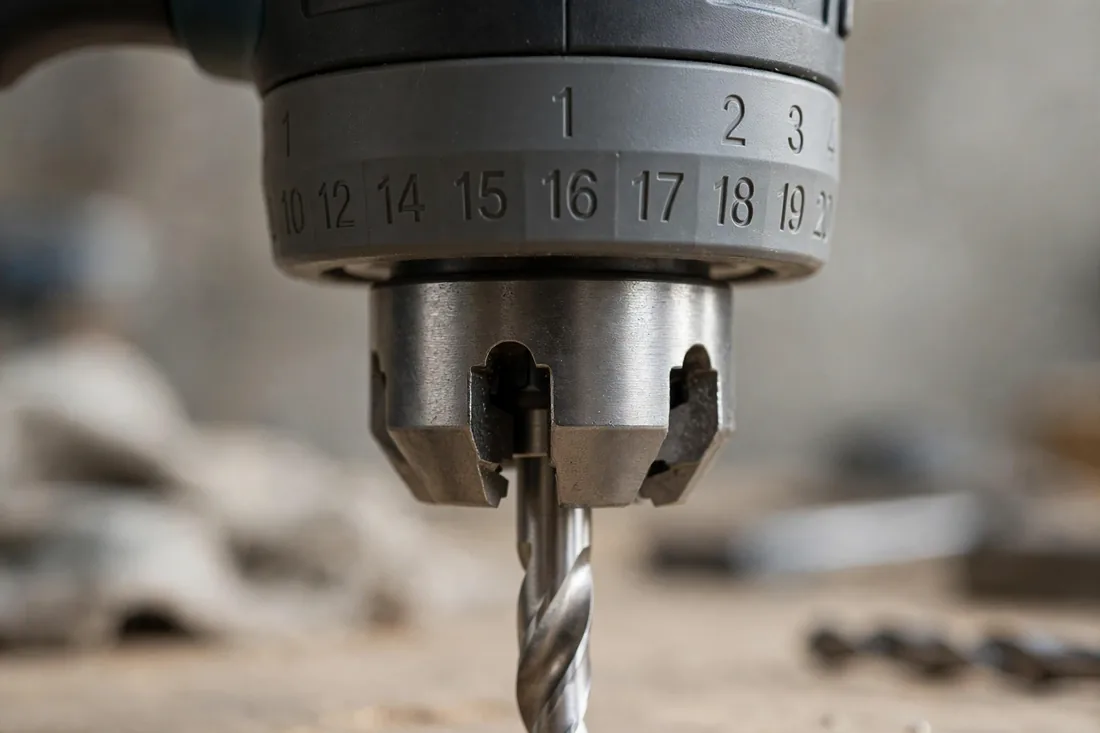
More useful day-to-day is the clutch: the numbered ring behind the chuck that limits how much torque the drill applies before it starts clicking. Set it low for small screws in soft wood (so you don’t strip them or sink them too deep), higher for bigger fasteners. If you’ve ever buried a screw head through drywall by accident, the clutch is the feature that prevents that. Make sure any drill you buy has an adjustable clutch — most do, but check.
Speed Settings (RPM)
Most drills have two speed ranges, switched by a slider on top: low speed (0–~500 RPM) for driving screws and drilling large holes with maximum torque, and high speed (0–~1,800–2,000 RPM) for drilling smaller holes in wood and metal. The variable-speed trigger gives you fine control within each range — squeeze gently for slow, controlled starts.
Don’t overthink RPM numbers. Two speeds plus a responsive trigger covers virtually all DIY work. What matters more is that the trigger feels smooth and predictable, not jumpy.
Brushed vs. Brushless Motors
You’ll see “brushless” on many mid-range and premium drills. A brushless motor uses electronics instead of physical carbon brushes to drive the motor, which makes it more efficient: typically longer runtime per charge, less heat, and a longer motor life. Brushless drills also tend to be slightly more compact for the same power.
Brushed drills still exist at the budget end, and they’re not bad tools — they just run a bit hotter and drain batteries faster. If you drill often or want the best runtime, brushless is worth the premium. If the drill will see a few hours of use a month, a brushed model at a good price is a perfectly reasonable buy.
Battery Amp-Hours (Ah)
Battery capacity is measured in amp-hours. A higher Ah rating means longer runtime between charges — a 5.0Ah pack typically runs about two and a half times longer than a 2.0Ah pack in the same tool. But bigger packs are heavier and bulkier, which changes how the drill feels overhead or in tight spots.
The practical move: get a drill kit that includes two batteries so one can charge while you work, and consider owning one compact pack for light work and one large pack for heavy jobs. Also important — batteries are platform-specific. Once you buy into a brand’s 18V system, every future tool you buy from that line shares the same batteries. That’s a long-term decision, so choose a platform with a tool lineup you can grow into.
Weight, Balance, and Ergonomics
Specs can’t tell you how a drill feels. A well-balanced drill with the battery seated under the grip feels lighter than its listed weight suggests; a front-heavy one tires your wrist in twenty minutes. Grip circumference matters too — smaller hands do better with compact 12V bodies.
If you can, hold the drill in a store before buying: grip it like you would on a ladder, check that the forward/reverse switch falls naturally under your thumb, and notice whether the LED work light actually points at the bit. These small comforts matter more over a decade of ownership than an extra 50 in-lbs of torque.
How to Choose: A Simple Decision Path
Walk through these five questions in order, and the right drill usually picks itself:
- What’s the heaviest job? If it’s hole saws, deck screws, or masonry, go 18V full-size with a 1/2-inch chuck. If it’s furniture and picture frames, 12V compact is plenty.
- Brushless or brushed? Frequent use or long runtimes favor brushless. Occasional light use makes a brushed bargain sensible.
- What’s in the kit? Two batteries, a charger, and a case beat a bare tool for a first purchase. Check that the charger isn’t a slow overnight-only model if you’ll work full days.
- Which battery platform? Think two years ahead. If you plan to add a circular saw, sander, or other cordless tools, pick the brand whose lineup covers them — the drill is your entry ticket to that ecosystem.
- How does it feel? Handle it if possible. Comfort is a feature.
One more practical note: whatever drill you choose, its performance depends heavily on the bits you feed it. Dull or wrong-type bits make any drill feel weak, so spend a little time learning drill bit types — matching the bit to the material is the cheapest performance upgrade there is.
Common Mistakes to Avoid
- Buying on torque alone. Torque is easy to market and hard to use up. Balance, clutch quality, and battery platform matter more for most buyers.
- Ignoring the battery situation. A cheap kit with one small battery will frustrate you mid-project. Two batteries (or a plan to add a second) is the real minimum.
- Skipping the clutch. Running every screw at full torque strips heads and sinks fasteners. Learn the clutch ring — it’s the difference between clean work and chewed-up screw heads.
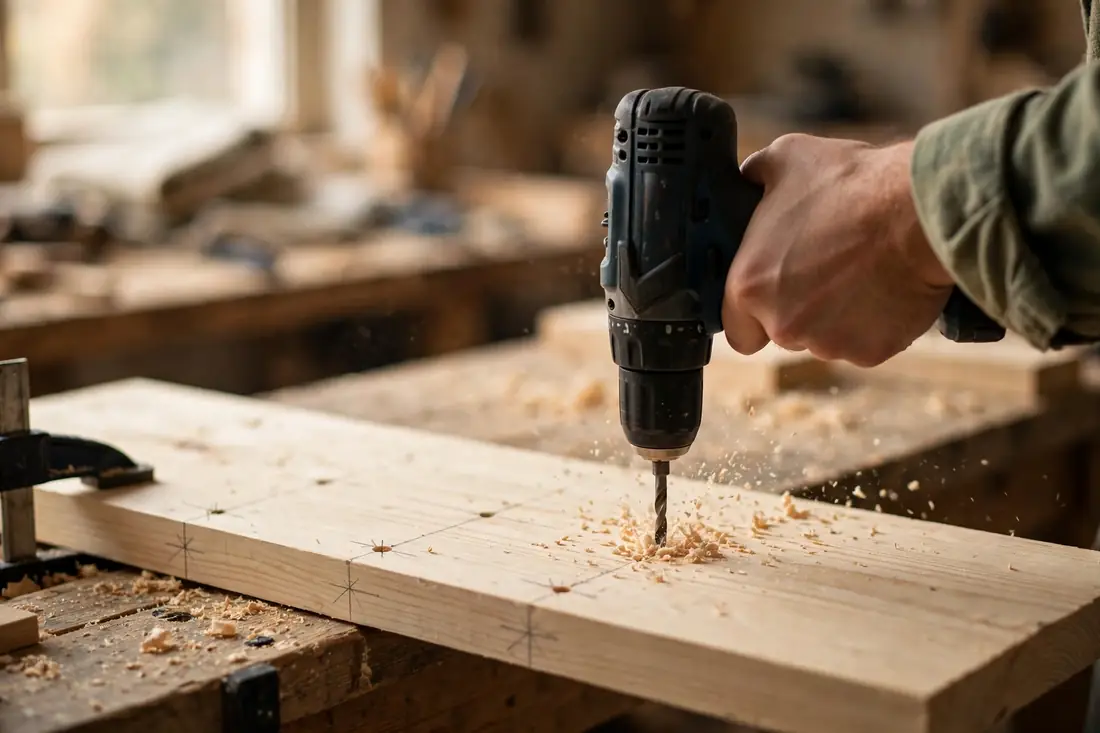
- Using the wrong speed range. Big bits and screws belong in low gear; small drill bits belong in high gear. Wrong range means burnt bits, stalled motors, or both.
- Forgetting ear and eye protection. Drilling is loud and throws chips. Glasses take two seconds to put on.
- Buying a second platform by accident. That tempting deal on a different brand’s tool means a second charger and incompatible batteries. Stick to one battery family unless you have a real reason to split.
Key Takeaways
- Match the drill to your heaviest realistic job — 12V compact for light household work, 18V full-size for general DIY and beyond.
- The clutch, two speed ranges, and a keyless 1/2-inch chuck matter more day-to-day than headline torque numbers.
- Brushless buys you runtime and motor longevity; brushed is fine for occasional use at a lower price.
- Buy into a battery platform, not just a drill — check the brand’s wider tool lineup before committing.
- Two batteries in the kit beats one, every time.
Frequently Asked Questions
Is 12V or 18V better for a first drill?
For most homeowners, 18V is the better first drill because it handles the widest range of jobs and anchors you to the largest battery platform. Choose 12V if your work is genuinely light and you prioritize comfort and compact size.
What does 20V Max mean — is it more powerful than 18V?
No. “20V Max” and “18V” describe the same battery class — 20V Max is the maximum voltage fresh off the charger, while 18V is the nominal working voltage. They’re equivalent; the label is marketing, not extra power.
How long do cordless drill batteries last?
Runtime per charge depends on the job and the amp-hour rating — light screwdriving can run a long time on one pack, while drilling large holes drains batteries fast. Battery packs themselves typically last several years of regular DIY use before capacity noticeably drops, especially if stored charged and kept out of extreme heat.
Can one drill handle both drilling and driving?
Yes. A drill/driver with an adjustable clutch does both: drill mode for holes, clutch settings for driving screws without stripping them. If you drive a high volume of long screws, though, a dedicated impact driver is faster and easier on your wrist.
Do I need a hammer drill function?
Only if you drill into masonry, brick, or concrete with any regularity. A hammer-drill mode adds a pulsing action that makes masonry drilling far faster. For wood, drywall, and metal, it’s dead weight — skip it unless you know you need it.
Are expensive drills worth it for occasional use?
Usually not. An occasional user gets nearly all the practical benefit from a solid mid-range drill. Premium models pay off through longer runtimes, tougher construction, and bigger battery ecosystems — advantages that matter most to frequent users.
Ready to look at specific models? Browse our cordless drill picks for 2026, organized by use case — compact 12V, all-round 18V, and heavy-duty — with a clear explanation of how each pick was chosen.