Angle Grinder Buying Guide: Sizes, Discs, and What Matters
The angle grinder is the most versatile — and most demanding of respect — tool in the shop. Start with size, learn the disc system, and choose safety features deliberately.
Start here
An angle grinder spins a disc at very high speed to cut, grind, and polish metal, masonry, and more. For most DIYers, the 4-1/2 inch size is the right starting point — big enough for real work, small enough to control. This guide explains sizes, the disc system, and the safety-forward features worth paying for, so you choose deliberately rather than by guesswork.
On this page
- A note on safety, up front
- Size first: 4.5-inch vs. larger grinders
- The disc system, explained
- Safety-forward features worth paying for
- How to choose
- Key takeaways
- FAQ
- Your next step
A note on safety, up front
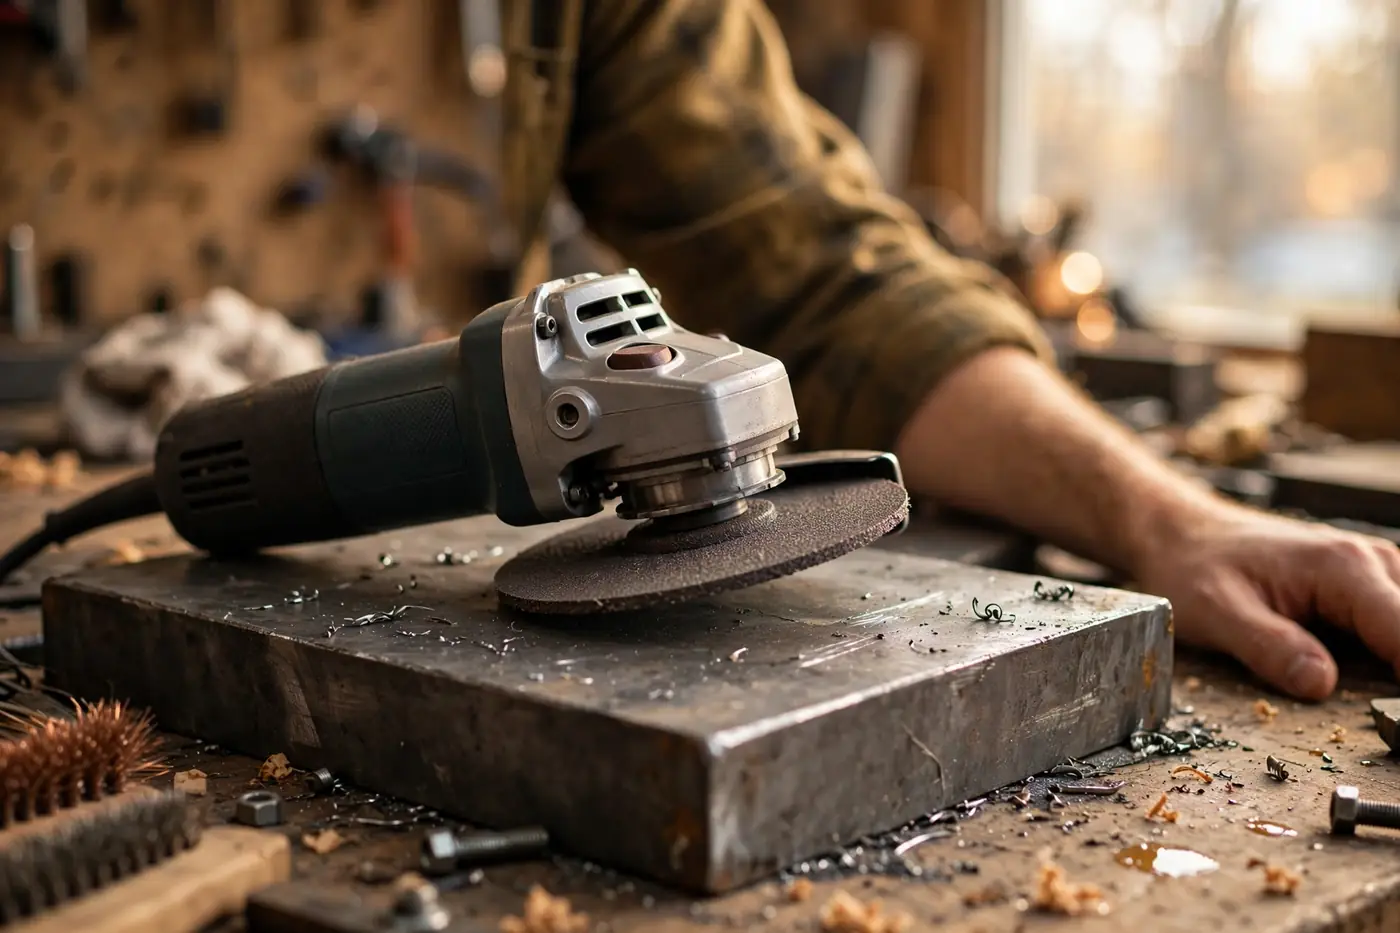
Most tool guides bury safety at the bottom. For the angle grinder, it belongs at the top. This is a tool that spins a disc at ten thousand-plus RPM inches from your hands, throws sparks and debris, and can kick back violently if a disc binds. None of that means you shouldn’t own one — millions of people use grinders safely every day — but it means you choose safety features as deliberately as you choose size, and you learn the grinder safety rules before the first trigger pull.
The two non-negotiables: never run a grinder without the guard in place, and never mount a disc rated below the grinder’s speed. Everything else in this guide assumes those two rules are already in force.
Size first: 4.5-inch vs. larger grinders
Angle grinders are sold by the maximum disc diameter they accept. That one number determines the tool’s size, weight, power, and the depth of cut you get. Here’s how the common sizes compare for real work.
4-1/2 inch: the DIY standard
The 4-1/2 inch grinder is the default recommendation for a reason. It’s compact enough to hold with one hand (though you should use both), light enough for extended work, and powerful enough for cutting rebar, grinding welds, sharpening mower blades, and cutting tile and pavers with the right disc. Discs and accessories are the most widely available and cheapest in this size.
Its limitation is depth of cut — roughly an inch, depending on the disc. If your work regularly involves cutting thick steel or deep masonry cuts, you’ll outgrow it. For everything else a homeowner or DIYer does, it’s the right size. When in doubt, start here.
5 inch and 6 inch: the middle ground
These sizes offer a bit more reach and cutting depth than 4-1/2 inch models, with modestly more weight. They’re popular with people who do regular metal fabrication or masonry work and want fewer passes per cut. The trade-off is a smaller accessory selection and slightly less maneuverability in tight spots. A reasonable step up if you already own a 4-1/2 inch grinder and keep hitting its limits.
7 inch and 9 inch: the heavyweights
Large grinders cut deeper and remove material faster, and they’re the standard for heavy masonry, thick steel, and professional concrete work. They’re also heavy, tiring, and significantly more dangerous in inexperienced hands — the larger disc carries more energy, and kickback hits harder. These are not beginner tools. If you’re reading a buying guide to choose your first grinder, the large sizes are not for you yet.
The size decision, simply
| Size | Best for | Who should buy it |
|---|---|---|
| 4-1/2″ | General DIY: cutting, grinding, sharpening, tile | First grinder; most homeowners |
| 5″–6″ | Regular fabrication and masonry | DIYers who’ve outgrown 4-1/2″ |
| 7″–9″ | Heavy masonry, thick steel, pro concrete work | Experienced users with specific heavy jobs |
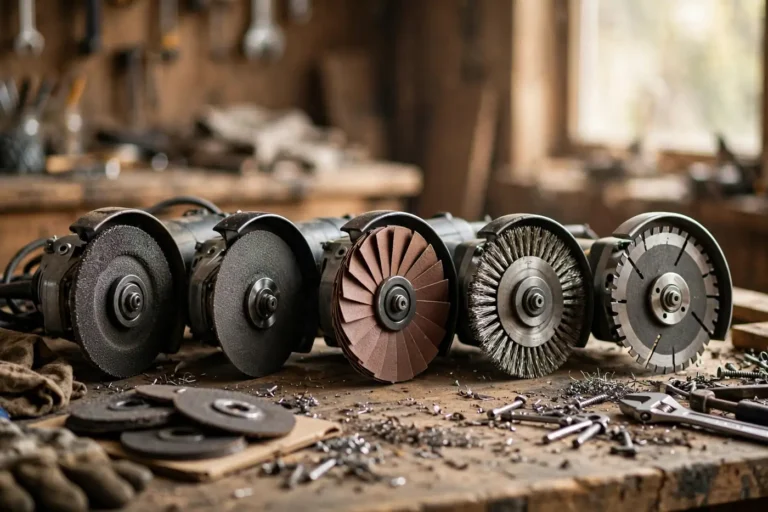
The disc system, explained
A grinder without discs is a paperweight. The disc determines what the tool does — and using the wrong disc for the job is one of the most common grinder mistakes. Every disc has a maximum RPM rating printed on it; that number must meet or exceed your grinder’s no-load speed. This is the blade basics principle applied to grinders: the consumable does the work, so choose it deliberately.
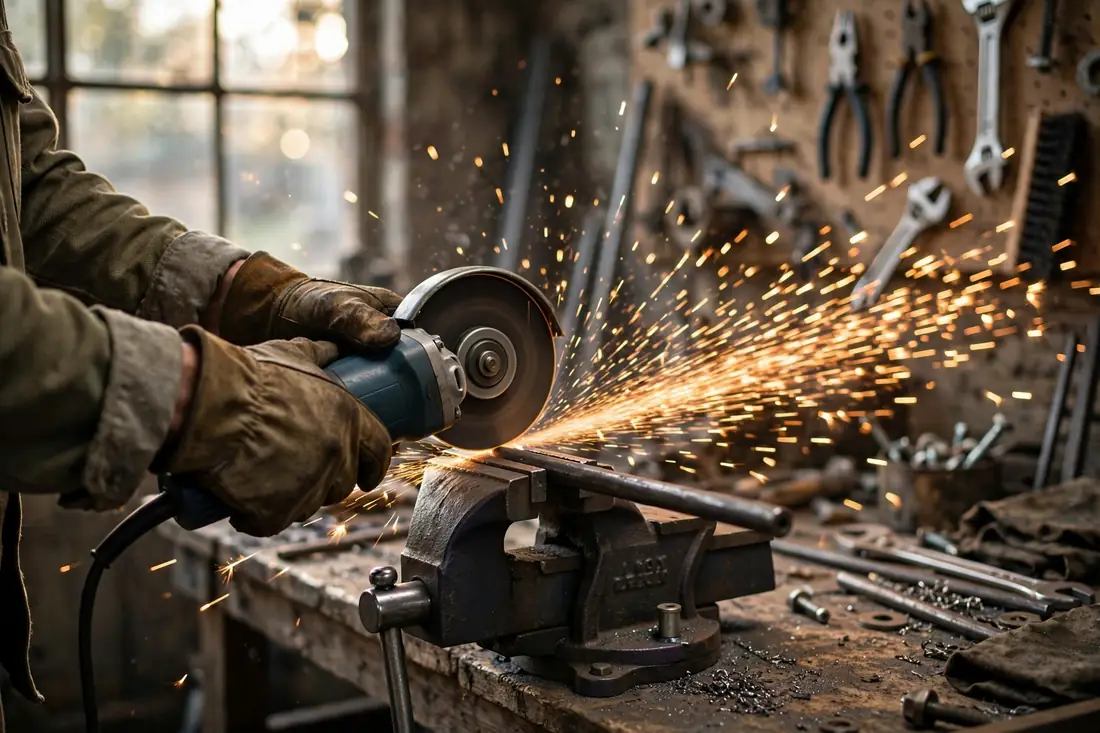
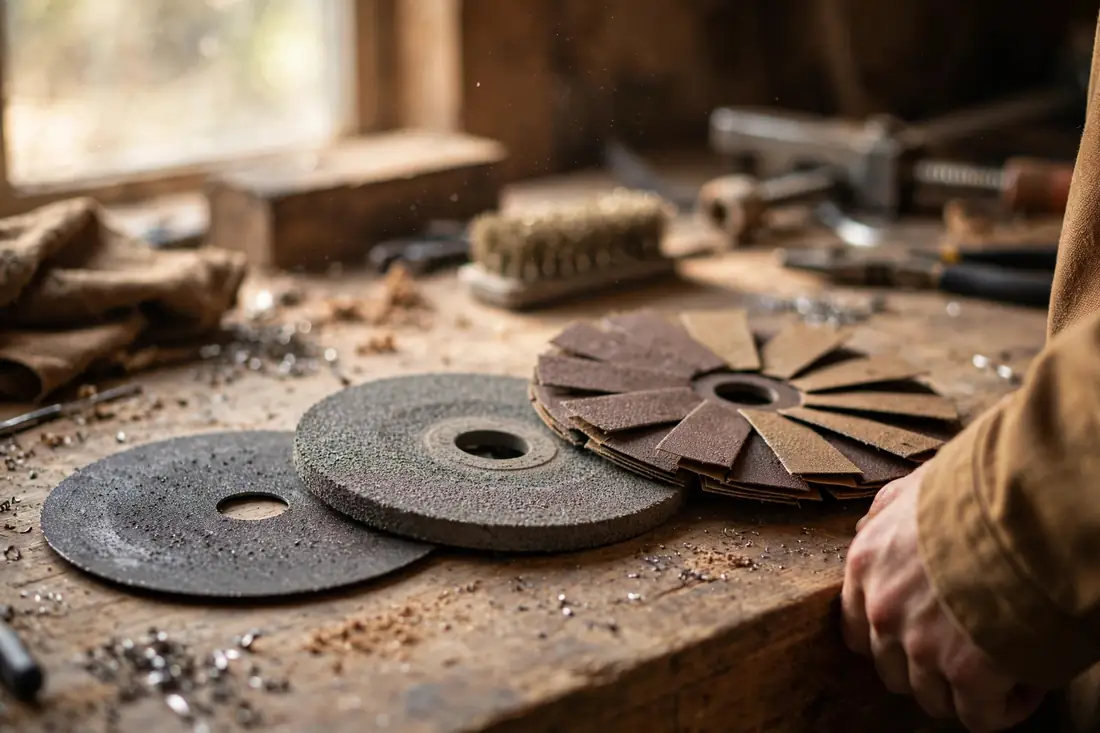
Cutting discs (cut-off wheels)
Thin — often around a millimeter — and designed to slice through metal quickly. They cut fast and leave a narrow kerf, but they’re fragile: side-loading a cutting disc (twisting or prying with it) can shatter it. Use them for straight cuts in rebar, bolts, sheet metal, and angle iron. Never grind with a cutting disc — the thin profile isn’t built for side pressure.
Grinding discs
Thick and sturdy, built to remove material from a surface: smoothing welds, knocking down high spots, beveling edges before welding. They remove metal aggressively and are far more tolerant of side pressure than cutting discs. If you’re doing any welding or fabrication, you’ll go through these steadily.
Flap discs
Overlapping flaps of sandpaper arranged around a backing disc. Flap discs grind and finish in one step — they remove material like a grinding disc but leave a much smoother surface. They’re the best choice for cleaning up welds you want to look decent, removing rust and paint, and general metal shaping. For a beginner doing mixed metal work, a medium-grit flap disc is the most useful single disc to own.
Wire wheels and cups
Twisted or crimped wire bristles that strip rust, paint, and scale without removing base metal. Wire wheels are aggressive and throw wires as they wear — wear a face shield, not just safety glasses, when using them. They’re the right tool for restoring rusty metal before painting or welding.
Diamond blades
For masonry, tile, and concrete: a steel core with a diamond-impregnated rim. They cut tile, pavers, brick, and concrete cleanly and last far longer than abrasive discs in masonry. They’re also the most expensive discs on this list — buy one when you have a masonry project, not before. Note that cutting masonry generates large amounts of fine dust; work outdoors or with dust extraction and wear a respirator.
Matching disc to job: a quick reference
- Cutting rebar, bolts, angle iron: thin cutting disc
- Smoothing welds, shaping metal: grinding disc, then flap disc to finish
- Rust and paint removal: wire wheel or coarse flap disc
- Tile, pavers, brick: diamond blade
- Sharpening mower blades, axes: grinding disc with light pressure
Safety-forward features worth paying for
Once you’ve settled on size, these are the features that separate a thoughtful grinder from a bare-minimum one. Prioritize them in this order.
Adjustable, tool-free guard
The guard deflects sparks and debris away from you — and contains fragments if a disc fails. A guard that adjusts without tools means you’ll actually reposition it as the work angle changes, instead of leaving it in one useless position. If a grinder makes guard adjustment annoying, people remove the guard. Don’t buy that grinder.
Paddle switch vs. slide switch
A paddle (deadman) switch runs only while you hold it — release your grip and the tool stops. A slide switch locks on and keeps running until you switch it off. For a tool this aggressive, the paddle switch is the safer design: if the grinder kicks or you lose your grip, it stops instead of skating across the floor still spinning. Prefer the paddle.
Anti-kickback and restart protection
Kickback — the disc binding and the grinder jerking violently — is the scariest grinder event. Some grinders include electronics that detect binding and shut the tool down. Restart protection prevents the grinder from spinning back up after a power interruption if the switch is still on — a meaningful safeguard on corded models. Neither replaces technique, but both are worth having.
Soft start and variable speed
Soft start ramps the disc up gradually instead of jerking the tool on startup — a small comfort feature that also extends disc life. Variable speed matters when you run wire wheels, polishing pads, or diamond blades, which all prefer lower RPMs than full-speed grinding. For pure metal cutting and grinding, you’ll mostly run full speed anyway.
Vibration control and ergonomics
Grinding vibrates, and long sessions punish your hands. Vibration-dampening handles and a slim body you can grip comfortably make a real difference over a day of work. An adjustable side handle that locks into multiple positions (left, right, top) lets you adapt to the cut instead of contorting yourself around a fixed handle.
Corded vs. cordless
Cordless grinders on modern 18V-class platforms handle most DIY grinding and cutting well, and the freedom from a cord matters when you’re working around a vehicle or across a yard. Corded grinders cost less and sustain full power indefinitely — the better pick for long grinding sessions or heavy masonry work. As with most tools, the deciding factor is often which batteries you already own.
How to choose
Work through it in order: size, power source, safety features, then discs.
- Size: 4-1/2 inch unless you have a specific reason for larger. It’s the standard for a reason.
- Power source: cordless if you’re on a battery platform and value mobility; corded if you want maximum sustained power for minimum money.
- Safety features: tool-free adjustable guard, paddle switch, and anti-kickback/restart protection — in that order of importance.
- Discs: buy a starter set with your first project in mind — a few cutting discs, a grinding disc, and a medium flap disc cover most first jobs. Add diamond and wire wheels per project.
- Ergonomics: slim body, good grip, multi-position side handle. You’ll feel the difference after the first hour.
For specific model recommendations by use case, see the grinder picks — and read the grinder safety rules before the tool’s first use, not after its first scare.
Key takeaways
- Start with a 4-1/2 inch grinder — it’s the right size for nearly all DIY work, with the widest accessory selection.
- The disc does the job: cutting discs cut, grinding discs grind, flap discs do both with a better finish. Never mix up their roles.
- Choose safety features deliberately: tool-free guard, paddle switch, anti-kickback, and restart protection.
- Match every disc’s RPM rating to your grinder’s speed, keep the guard on, and learn the safety rules before first use.
FAQ
Can I use a wood-cutting blade on an angle grinder?
Generally no — and it’s one of the most dangerous grinder misuses. Standard toothed saw blades on grinders are a well-known kickback and shattering hazard. If you need to cut wood, use a circular saw or jigsaw. Specialty carving discs exist for grinders but demand experience and full protective gear.
What’s the difference between a cutting disc and a grinding disc?
Thickness and purpose. Cutting discs are thin (around 1mm) and made for slicing straight through material with minimal side pressure. Grinding discs are thick and built to remove surface material with the face of the disc. Using either for the other’s job risks breaking the disc.
How long do grinder discs last?
Cutting discs wear with every cut — thin discs disappear surprisingly fast in thick metal, which is normal. Grinding and flap discs last longer but wear down with use. Diamond blades last far longer in masonry than abrasive discs. Treat all of them as consumables and replace rather than nurse along a worn disc.
Do I need a variable-speed grinder?
Not for basic metal cutting and grinding — you’ll run full speed. It becomes useful for wire wheels, polishing, and some diamond-blade work, where lower speeds give better control and longer accessory life. Nice to have; not essential for a first grinder.
Is a cordless angle grinder powerful enough?
For typical DIY work — cutting rebar, grinding welds, sharpening, cutting tile — a cordless grinder on a modern 18V-class platform is genuinely capable. For sustained heavy grinding or large masonry jobs, corded still has the edge in endurance and cost.
Your next step
Pick the 4-1/2 inch size, choose cordless or corded based on your battery situation, and buy your first discs with a real project in mind. Then read the grinder safety rules and gear up — glasses, gloves, and hearing protection — before the disc ever spins.