Power Tool Storage Ideas: Taming the Garage and Workshop
A messy shop wastes time and shortens tool life. These storage ideas — from a $20 pegboard to french cleat walls — bring order to any garage or workshop.
Start here
Power tool storage isn’t about having a magazine-worthy workshop — it’s about knowing where everything is, keeping tools dry and undamaged, and not tripping over a circular saw on the way to the workbench. These ideas are organized from cheapest to most involved, with practical tips for small spaces and battery storage along the way.
On this page
- Before you buy anything: sort first
- Pegboard: the $20 starting point
- French cleats: the upgrade worth building
- Cabinets and drawers: dust-free storage
- Shelving and the heavy stuff
- Small-space solutions
- Battery storage: the part people get wrong
- Cords, blades, and accessories
- Storage as safety
- Key takeaways
- Your next step
Before you buy anything: sort first
No storage system survives contact with a pile of unsorted tools. Before spending a dollar, pull everything out and sort it into three groups: tools you use weekly, tools you use monthly, and tools you haven’t touched in a year. Weekly tools earn the most accessible spots — within arm’s reach of the workbench. Monthly tools get the shelves and cabinets. The untouched group gets honestly evaluated: sell it, lend it, or store it out of the way.

This single pass usually reveals that the “storage problem” is really a “too much stuff in the prime real estate” problem. If you’re just setting up your first shop, the beginner workshop list keeps the tool count sane from the start.
Pegboard: the $20 starting point
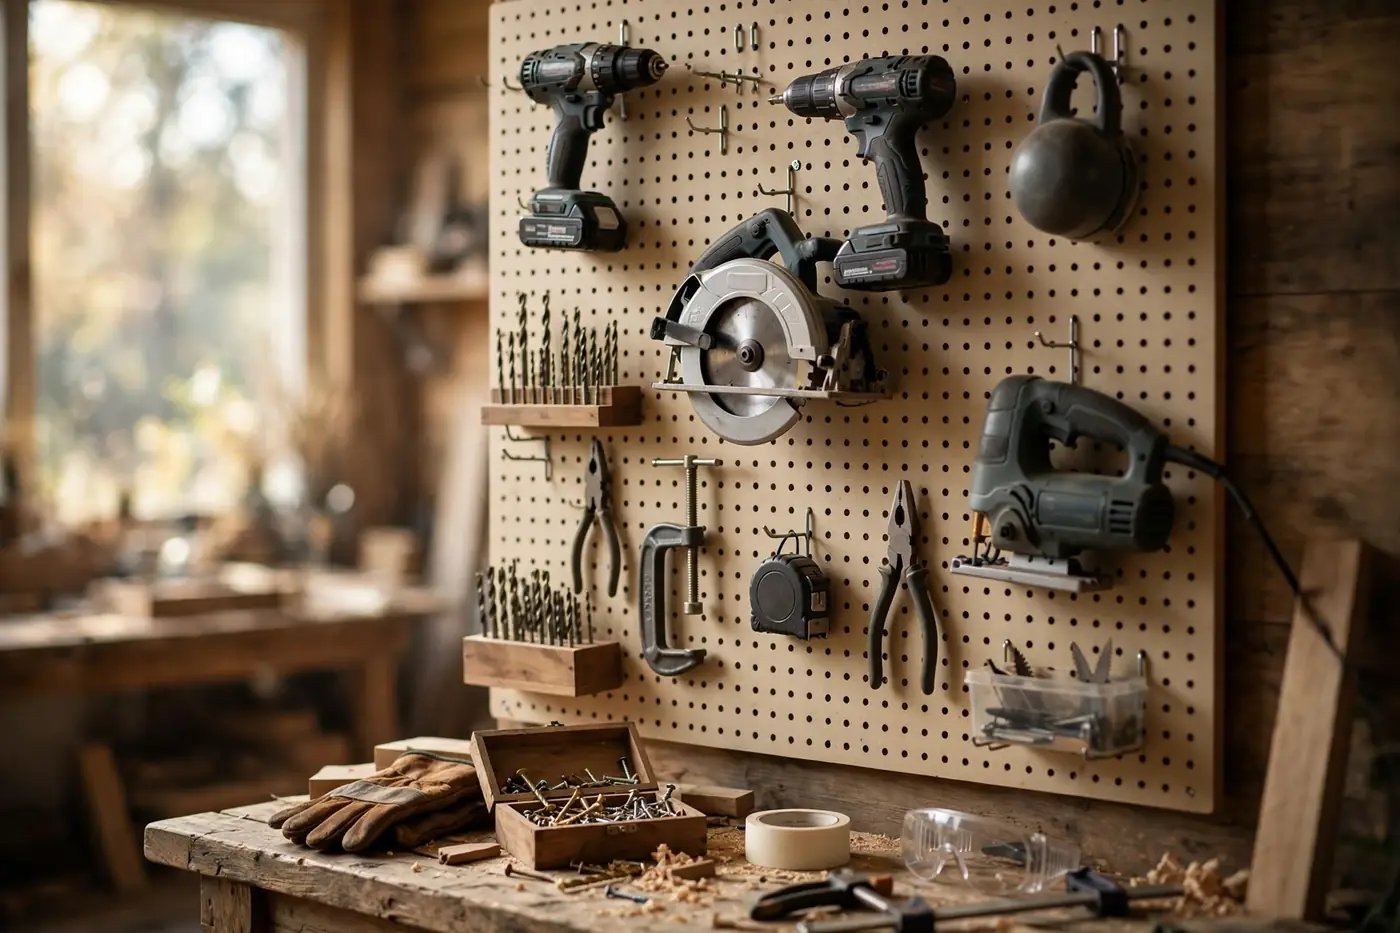
A sheet of pegboard and a bag of hooks is the cheapest functional tool wall in existence, and it’s where most organized workshops begin. Mount it on furring strips so hooks have room behind the board, and keep it within reach of your main work area.
What goes on pegboard: hand tools, drills and drivers in holsters, squares, tape measures, clamps on the lower rows, safety glasses and ear protection on dedicated hooks by the door. Trace each tool’s outline on the board with a marker — the empty silhouette tells you instantly what’s missing and guilts you into putting things back.
Practical tips: use locking pegboard hooks (standard hooks fall out when you grab a tool in a hurry); keep heavy tools low and light tools high; leave 20% of the board empty so the system can absorb new tools. Pegboard’s weakness is dust — everything on it gets dusty — so keep precision tools and anything with vents somewhere cleaner.
French cleats: the upgrade worth building
A french cleat wall is a strip of beveled wood screwed to the wall, with matching beveled hangers on custom holders that hook over it. The result: tool holders you can rearrange in seconds without new holes, built from scrap plywood in an afternoon.

Why it’s better than pegboard: holders are sturdier, support heavier tools, and can be shaped to anything — drill charging stations, saw blade racks, spray-can shelves, cord wraps. A drill holder with a built-in charging shelf, for example, keeps the drill, its battery, and its charger in one grab-and-go unit.
Practical tips: rip the cleats from 3/4 inch plywood at 45 degrees; screw the wall strips into studs, not just drywall; standardize the hanger spacing so every holder fits every strip. Start with one 4-foot section above the workbench and expand as you build holders. This is the single highest-value weekend project for workshop organization.
Cabinets and drawers: dust-free storage
Open storage is convenient; closed storage protects. Cabinets and drawer units keep tools out of the dust that coats everything in a working shop — and dust in tool vents and switches is a slow killer of power tools.
What goes in cabinets: sanders, routers, and anything with air vents; rarely-used specialty tools; finishes and chemicals (in a ventilated cabinet, away from ignition sources); blades and bits in their cases. Drawers suit accessories: drill bits, driver bits, sanding discs, screws and fasteners sorted by type.
Practical tips: label every drawer — a label maker or painter’s tape and a marker both work; use drawer dividers or small parts bins so accessories don’t become a junk drawer; keep one drawer as the “project drawer” for the fasteners and bits of whatever you’re currently building. Old kitchen cabinets, often free from remodels, make excellent workshop storage after a wipe-down.
Shelving and the heavy stuff
Tool cases, shop vacuums, compressors, and bulk materials live on shelves — but only on shelves built for the weight. A sagging shelf under a stack of tool cases is a collapse waiting to happen.
Practical tips: use heavy-duty shelf brackets anchored to studs, or freestanding industrial shelving rated for the load; store tool cases vertically like books with the labels facing out — it saves space and you can read what’s inside; keep the heaviest items at waist height, not overhead (lifting a compressor down from a high shelf is how backs get hurt); reserve the top shelf for light, rarely-used items like seasonal gear.
If you keep tools in their original cases — and you should, since the molded cases protect them in transit and stack neatly — shelving is where those cases live. One shelf of labeled cases beats a floor of unidentifiable plastic boxes.
Small-space solutions
Not everyone has a two-car garage. Apartment workshops, single-car garages shared with an actual car, and closet-sized shops need storage that disappears when the work stops.
- Rolling carts: a rolling tool cart holds a project’s worth of tools and tucks into a corner when done. Build or buy one with a french-cleat-compatible side and it doubles as mobile storage.
- Fold-down workbench: a wall-mounted bench that folds flat frees the floor when you’re not working. Store the tools for the current project on it; everything else lives on the wall.
- Overhead storage: ceiling-mounted racks hold lumber, long levels, and seasonal items above head height. Keep the weight modest and the mounting into joists, not just drywall.
- Behind the door: an over-door organizer or a shallow cabinet on the back of the shop door holds finishes, glue, and small accessories in otherwise dead space.
- Stack vertically: in a small shop, wall space is the floor space. Pegboard or cleats floor-to-ceiling on one wall can hold an entire beginner’s tool collection in a few square feet of floor.
The principle: in a small space, every tool needs a wall or ceiling home, because the floor belongs to the project and your feet.
Battery storage: the part people get wrong
Batteries are the most abused item in most workshops — tossed in drawers, left on chargers for weeks, baking in a hot garage all summer. A little care here pays off in years of battery life, and the full routine is covered in the guide to storing batteries.
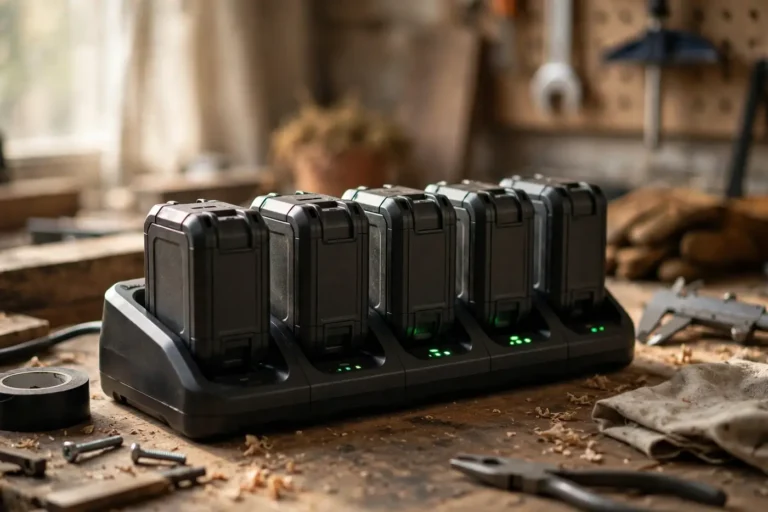
The short version for storage purposes: keep batteries in a cool, dry place — not on a charger indefinitely, not in a freezing or sweltering garage if you can avoid it. A dedicated battery shelf or a charging station with a timer keeps them organized and prevents the “dead battery in the junk drawer” problem. Store batteries at a partial charge if they won’t be used for weeks. And keep battery terminals clean and protected from metal objects — a loose battery rolling around with screws and nails is a short-circuit risk.
A wall-mounted battery rack near your charging station is a small build with outsized payoff: every battery visible, every battery with a home, no more hunting.
Cords, blades, and accessories
The small stuff causes a disproportionate share of workshop chaos. A few dedicated solutions:
- Extension cords: hang on wide hooks or a cord reel — never coil tightly around your elbow, which twists and damages the cord. One hook per cord, near the door or the workbench.
- Saw blades: store flat or hanging in blade sleeves, never loose where teeth bang together. A simple wall rack with slots keeps them visible and protected.
- Drill and driver bits: indexed cases, labeled by type. A bit you can’t find is a bit you’ll rebuy.
- Sanding discs and sandpaper: sorted by grit in a divided drawer or a wall-mounted file organizer. Mixing grits guarantees you’ll grab the wrong one.
- Safety gear: glasses, ear protection, dust masks, and gloves on hooks by the shop entrance — visible at the moment you walk in, per the workshop safety habit of gearing up before starting.
Storage as safety
Good storage is safety equipment. Tools on the floor are tripping hazards; blades in drawers are cut hazards; a top-heavy shelf is a crush hazard. A few rules that cost nothing:
- Sharp edges face away or get covered — blade guards on, chisels in rolls, utility knives retracted.
- Heavy tools low, light tools high. Nothing heavy above shoulder height that you’ll lift down regularly.
- Chemicals (finishes, solvents, glues) in a ventilated spot away from ignition sources, with lids sealed.
- If kids visit the shop, lockable storage for the dangerous tools isn’t optional — it’s the whole plan.
- Keep a clear path to the door and the breaker box. Storage that blocks an exit isn’t storage, it’s an obstacle.
Key takeaways
- Sort before you store: weekly tools within reach, monthly tools on shelves, untouched tools out of the prime space.
- Start cheap with pegboard, upgrade to french cleats when you’re ready — both beat any pile on the floor.
- Cabinets protect dust-sensitive tools; labeled drawers keep accessories findable; sturdy shelving handles the heavy cases.
- Store batteries cool, dry, and at partial charge — not baking in the garage or living on the charger.
- Storage is safety: sharp edges covered, heavy tools low, chemicals ventilated, exits clear.
Your next step
This weekend, do the sort — three piles, honest decisions — and mount one 4-foot section of pegboard or french cleat above your workbench. Then move your batteries to a cool, dry shelf following the battery-care routine. One afternoon of organizing pays back every single project after it.